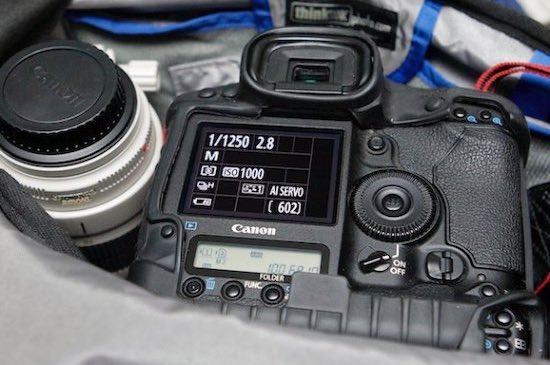
How to choose your camera settings?
There is obviously no universal setting that works in every situation. The choices depend on the light, the subject, the focal length being used and, above all, what you want to tell. Here is how I work day to day, with some concrete examples of settings used for photojournalism, sport,
concerts and landscapes.
A basic setup for staying responsive
By default, my camera is set to aperture priority. I find that this semi-automatic mode allows me to be particularly responsive in the field. I choose the aperture I need, for example f/4, then manually adjust the ISO sensitivity to obtain a sufficiently fast shutter speed.
If the shutter speed becomes too slow, I raise the ISO. If I have some margin, I lower it. And if the light metering is not correct, I use exposure compensation, for example +1 or -1 EV.
My camera is therefore prepared by default to deal quickly with an unexpected situation: low ISO sensitivity, a wide aperture and a minimum shutter speed of 1/500 s. If something suddenly happens in front of me, I usually only need to raise the ISO, which takes just a few seconds.
For a person walking, 1/500 s is already more than enough in most situations. But 1/4000 s will also work: the idea is simply not to choose an unnecessarily high shutter speed if it forces you to raise the ISO considerably.
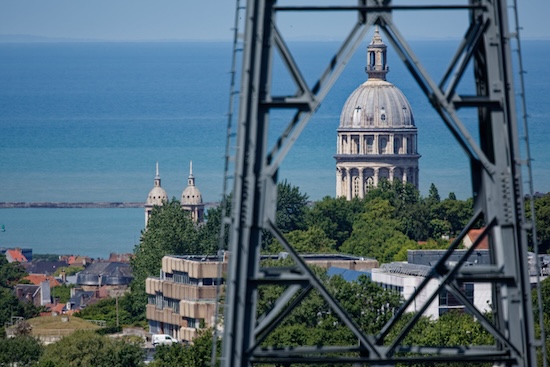
At first, the eye thinks it recognizes something like the Eiffel Tower. The dome of Notre-Dame rises above the city, facing the English Channel.
Boulogne-sur-Mer · 500 mm · f/7.1 · 1/640 s · ISO 160
Why this photograph? The 500 mm brings the planes visually closer and isolates the dome, while 1/640 s helps ensure sharpness handheld.
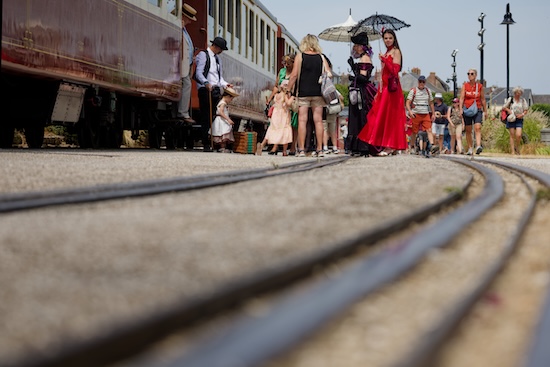
On these tracks, two eras meet. At ground level, the rails lead the eye towards the passengers in period costume.
Saint-Valery · 106 mm · f/5.6 · 1/1600 s · ISO 250
Why this photograph? The 1/1600 s freezes the train and passengers, while the low viewpoint and 106 mm focal length give the rails their role as leading lines.
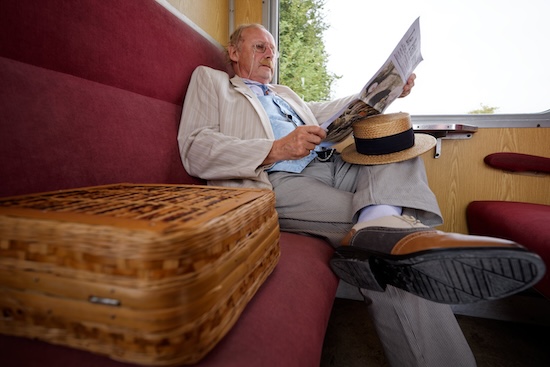
On board, time slows down. Newspaper, wicker suitcase and straw boater: this traveler seems to have left the 21st century on the platform.
Saint-Valery · 14 mm · f/4 · 1/250 s · ISO 160
Why this photograph? The 14 mm allows the traveler to be shown in his environment and the interior of the train, without having to step back.
Aperture priority or manual: there is no single right method
I obviously do not claim to have the absolute truth about how to set up a camera. Everyone can work the way they want, and manual mode remains perfectly relevant. Personally, I often favor aperture priority because it allows me to remain more responsive.
In practice, I choose all three parameters in both cases: aperture, shutter speed and ISO sensitivity. In aperture priority, I simply let the camera manage the shutter speed and can quickly change the ISO to take control of the result. For some situations, however, I prefer to switch to manual, particularly for sport, concerts or night assignments, when I want to maintain a precise shutter speed and aperture despite unpredictable light.
With experience, these choices become almost automatic. It is a bit like changing gears in a car or on a motorcycle: at first you think about every change, then eventually you stop consciously thinking about it.
Do not raise the ISO without reason… but do not be afraid of it
In theory, you should find the right combination of aperture, shutter speed and ISO sensitivity so that you do not raise the ISO unnecessarily. The more the sensor signal is amplified, the greater the risk of digital noise. It would therefore be a shame to shoot in bright sunlight at 6400 ISO simply because you chose a much higher shutter speed than was actually necessary.
But conversely, you should not be afraid to raise the ISO when the situation requires it. For me, a sharp image with some noise is generally preferable to a clean but blurry image.
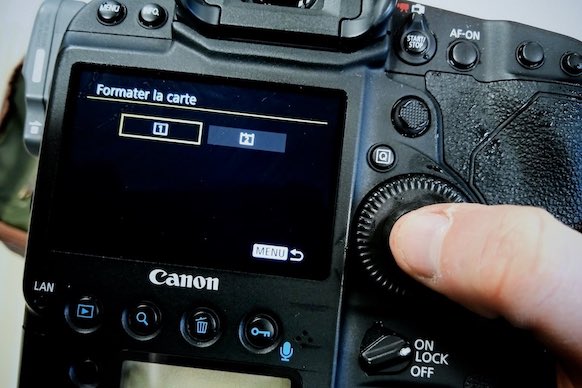
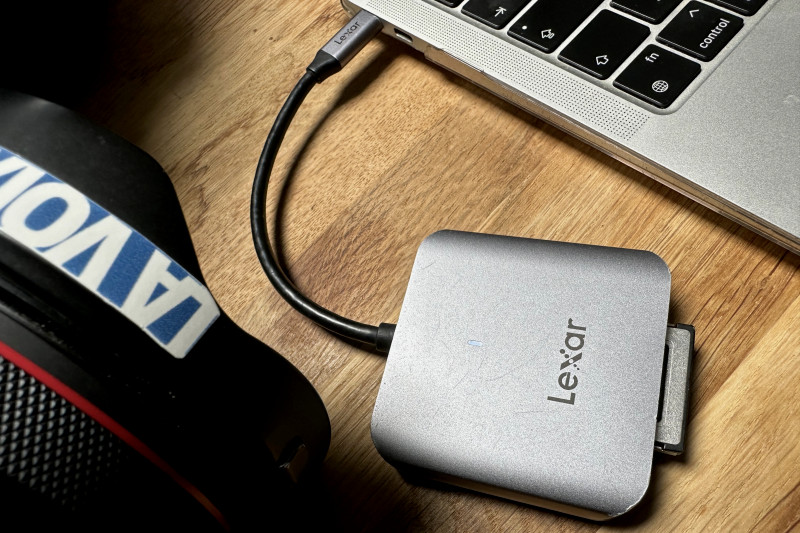
I systematically record two formats on my camera: JPEGs on one card and RAW files on another. JPEG makes it possible to send an image quickly when necessary, while recording to both cards also provides additional security in case of a problem with a memory card.
Above all, RAW offers considerable processing latitude. With software such as DxO PhotoLab or Lightroom, noise reduction during RAW processing now makes it possible to obtain very clean results at high sensitivities. For a concert or a night event, I therefore do not hesitate to go up to 20,000 ISO if it allows me to maintain a sufficiently fast shutter speed.
Sport: shutter speed comes first
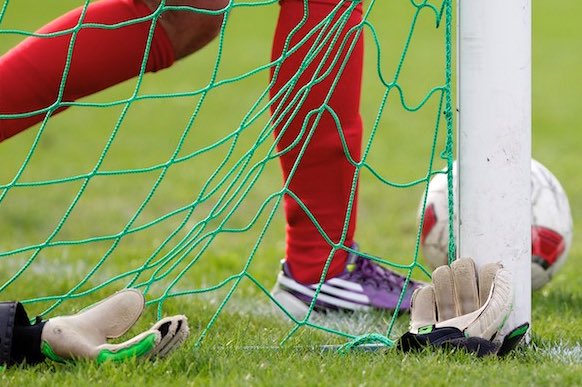
For sport, the settings depend heavily on the light and the discipline. During the day, for football or rugby, I generally work in aperture priority, around 1/2000 s and usually between ISO 100 and 400. Aperture priority is particularly practical when there are areas of shade on the field.
In a stadium with professional lighting, I can switch to manual and work, for example, at 1/1600 s, f/2.8 and ISO 2500. In a smaller municipal stadium with poorer lighting, I may sometimes have to accept ISO 12,800 at 1/500 s and f/2.8. At that speed, some fast action is nevertheless starting to be difficult to freeze.
For indoor sports, I also favor manual mode, generally around 1/1000 s, f/2.8 and ISO 6400 to 12,800. If the light is really poor, I can drop to 1/500 s, accepting that I will lose some ability to freeze the movement.
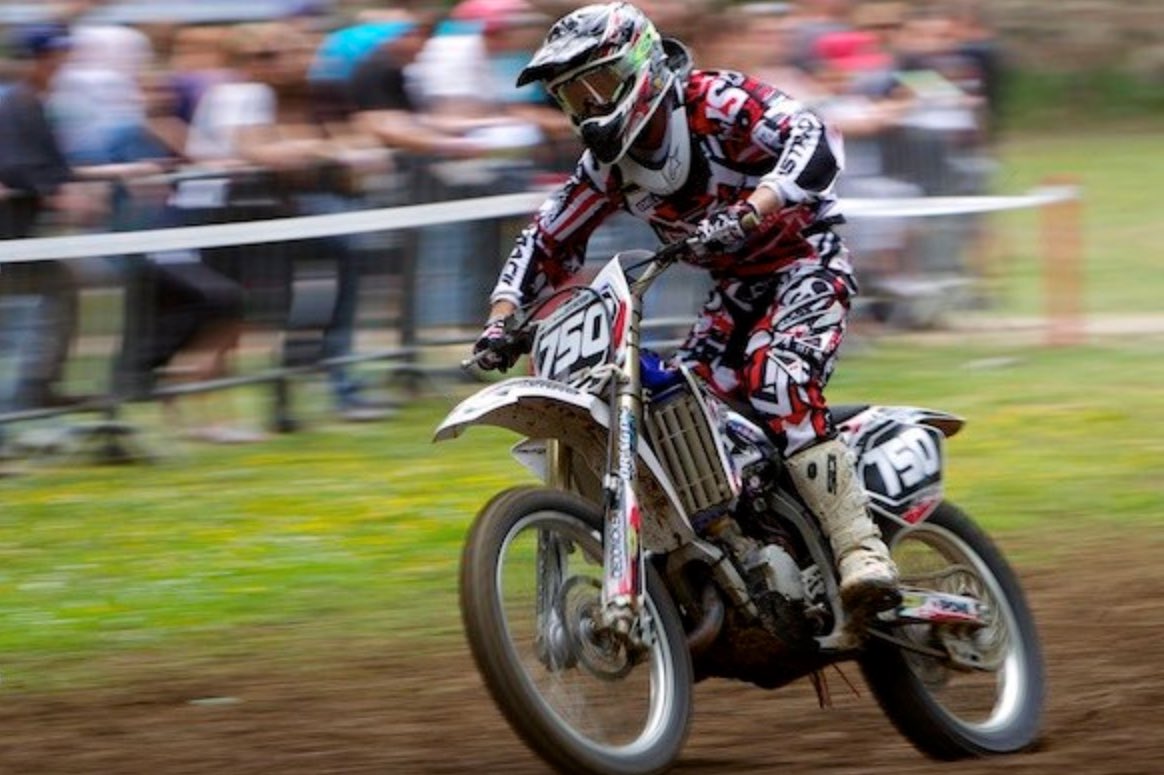
For the Enduro du Touquet, it is different again. With a 100-500 mm or a 24-105 mm, I generally favor a wide aperture and a fast shutter speed to freeze the action. But it is also an excellent opportunity to deliberately slow the shutter speed and create beautiful panning shots.
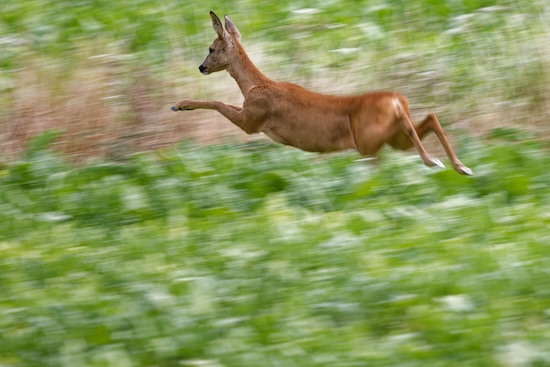
For a moment, the train shares the speed of a roe deer. By following its run, the landscape fades into a blur of green.
Baie de Somme · 500 mm · f/8 · 1/80 s · ISO 50
Why this photograph? The 1/80 s is deliberately very slow for a moving subject: by panning with the roe deer, the landscape becomes a motion blur while the animal remains recognizable.
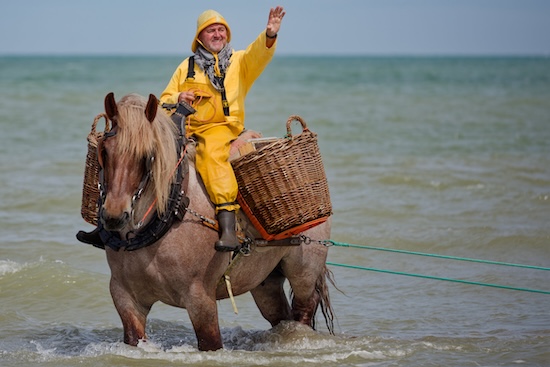
The return from fishing is a moment when eyes meet. I waited for the fisherman's wave to capture this spontaneous gesture.
Leffrinckoucke · 300 mm · f/5.6 · 1/2000 s · ISO 250
Why this photograph? The 1/2000 s freezes the fisherman's gesture and precisely captures this brief exchange with the spectators.
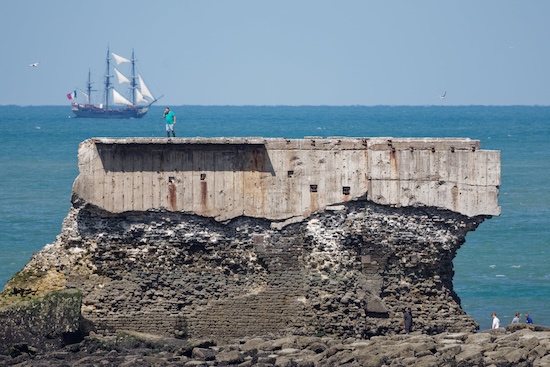
Off Fort de l’Heurt, L’Étoile du Roy passes under full sail. A person walking on the fort creates a striking contrast.
Le Portel · 500 mm · f/7.1 · 1/640 s · ISO 125
Why this photograph? The 500 mm brings the tall ship closer while keeping the person in the frame, creating a contrast between the two subjects.
Concerts: maintaining a fast shutter speed despite unpredictable light
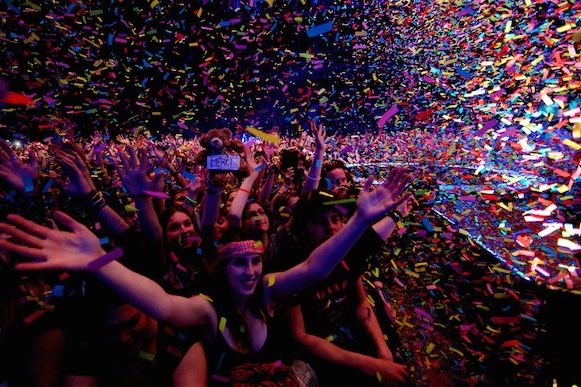
For concerts, I generally work in manual mode. A starting point might be 1/800 s, f/2.8 or f/4 and ISO 6400. I then mainly adjust the ISO sensitivity according to the result.
If the image is too dark, I raise the ISO. If it is too bright, I lower it. I look both at the result on the camera screen and at the histogram, because stage lighting can change very quickly.
The histogram is a graph showing the distribution of brightness levels in an image: dark tones are on the left, midtones in the center and highlights on the right. It is particularly useful for checking that you are not losing detail in the highlights.
However, you should not try to achieve a “perfect” histogram. A night scene is naturally dark, so its histogram will naturally be more concentrated on the left. The histogram is mainly a tool for understanding what is happening in the image and avoiding an exposure that does not match what you want to achieve.
Everyday photojournalism: be ready before anything happens
For everyday photojournalism, I generally favor aperture priority. My camera is immediately ready to work: a wide aperture, low ISO sensitivity and a minimum shutter speed of 1/500 s. If something suddenly happens, I can shoot without having to redo all my settings.
If the light drops, I quickly raise the ISO. For a person walking, 1/500 s is already a comfortable shutter speed, but there is nothing wrong with going much higher if conditions allow it. The goal is simply not to go to ISO 6400 in broad daylight to obtain a shutter speed you do not actually need.
I never use Auto ISO. It may be a mistake, but I prefer to keep control of the sensitivity and know exactly why my camera is using a particular value. It is part of my working habits, but once again, it is not a rule that must be followed.
I also adjust exposure quite often: backlighting, very bright skies, snow, highly reflective surfaces… The camera's automatic metering is helpful, but it does not always understand what I want to prioritize in the image.
At night: accepting high ISO
For a night assignment, I generally prefer manual mode. I choose the aperture, shutter speed and ISO sensitivity so that I can maintain a consistent exposure when the light is difficult or changing quickly.
The widest available aperture is often preferred, for example f/2.8, to let in as much light as possible. The shutter speed must remain fast enough to avoid camera shake and motion blur. If that means going to ISO 6400, 12,800 or even 20,000, that is not a problem in itself: the RAW file can then be processed to reduce noise substantially.
Landscape: theory versus reality in the field
I work almost always handheld in my day-to-day work, including for landscapes. Contrary to what you might imagine, I do not necessarily stop down very much when photographing a landscape or a blue sky.
In theory, if the sensor is perfectly clean, stopping down further increases depth of field and can provide greater sharpness throughout the image. But in my case, I can change lenses several times in five minutes. And on the Côte d'Opale, there is rarely a lack of wind!
The sensor therefore regularly ends up with a few specks of dust, particularly visible in uniform areas such as a blue sky. The more you stop down, the more visible these specks become. I therefore prefer to avoid stopping down unnecessarily and save myself five minutes of cleaning every sky in post-processing.
It is a very practical compromise between theory and reality in the field. If your sensor is perfectly clean, take advantage of it and stop down further when you need depth of field. If, like me, you change lenses several times in a few minutes in the coastal wind, you may learn to make a few compromises.
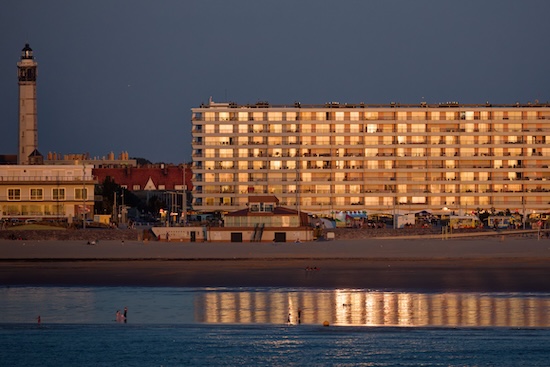
A few minutes before arriving in Calais, the setting sun lights up the seafront. The lighthouse and façades turn golden.
Calais · 300 mm · f/5.6 · 1/5000 s · ISO 2500
Why this photograph? Despite the low light, ISO 2500 makes it possible to keep 1/5000 s to freeze the ferry and take advantage of a fleeting moment of light.
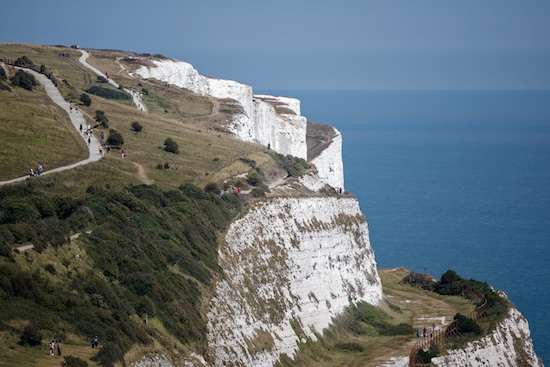
On the other side of the English Channel, the cliffs of Dover recall those of Cap Blanc-Nez. Two shores that seem to answer each other.
Douvres · 428 mm · f/6.3 · 1/1250 s · ISO 200
Why this photograph? The 428 mm compresses the landscape and visually brings the cliffs of Dover closer to the French coast.
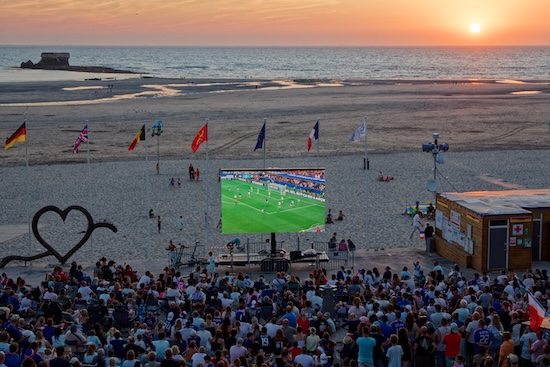
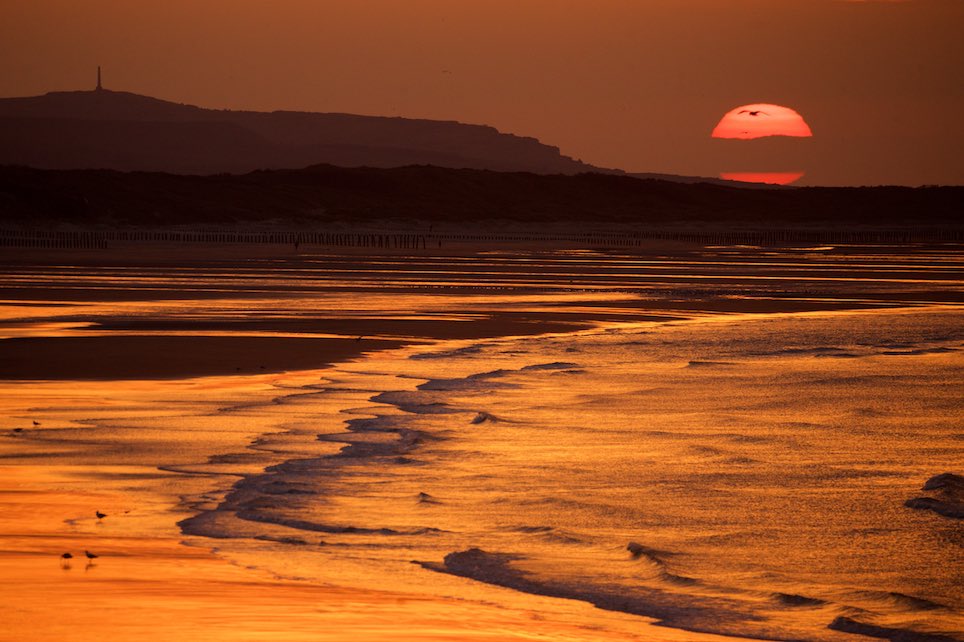
The sun sets behind the giant screen installed on Le Portel beach. One last postcard before it disappears.
Le Portel · 50 mm · f/20 · ISO 640 · -1 EV
Why this photograph? The -1 EV exposure compensation helps preserve the highlights in the sunset while retaining the silhouette of the screen.
Depth of field also depends on focal length
Choosing an aperture is not enough to determine the appearance of the background. Depth of field also depends on the focal length used, the distance between the photographer and the subject, and the distance between the subject and the background.
At 14 mm and f/8, you get considerable depth of field. At 500 mm, the result is completely different. If I want a strongly blurred background, I can therefore use a wide aperture, but I can also work with a telephoto lens and place enough distance between the subject and the background.
A person standing right in front of a wall will remain difficult to separate from it, even with a wide aperture. Conversely, several meters between the subject and the background will produce much stronger blur.
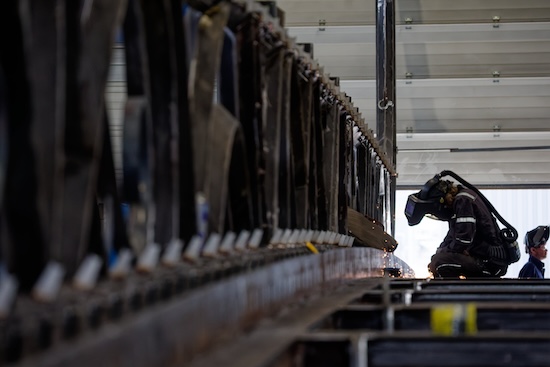
At the BC Metalnord factory, the welder almost disappears into the structure he is assembling. A tiny silhouette facing gigantic structures.
Grande-Synthe · 238 mm · f/5 · 1/640 s · ISO 5000
Why this photograph? The 238 mm makes the welder visually disappear into the immense structure, while ISO 5000 compensates for the factory's low light.
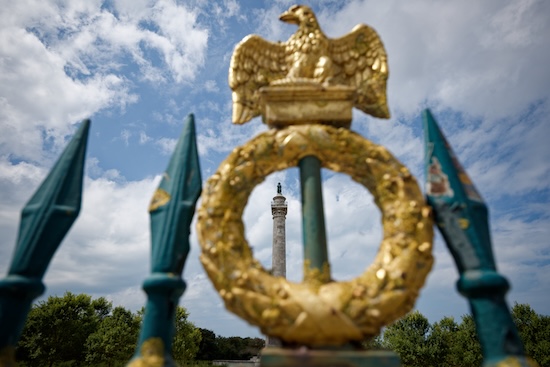
Behind the imperial eagle on the gate, the Napoleon Column seems to fit naturally within its emblem. A nod to the monument's history.
Wimille · 19 mm · f/4 · 1/2500 s · ISO 125
Why this photograph? The 19 mm allows the eagle in the foreground and the column to fit into the same frame, playing with depth and perspective.
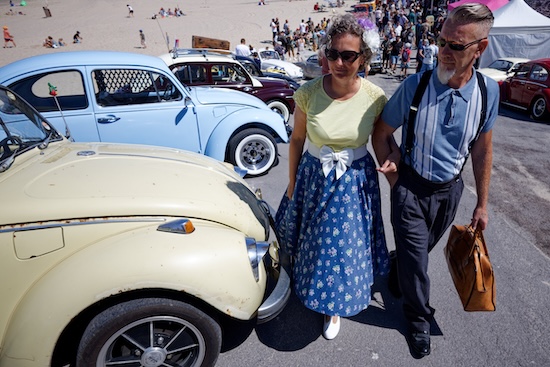
Esmeralda and Didier adopted a 1950s look for a vintage gathering on the beach. Her floral dress matches the pastel colors of the Volkswagens.
Le Portel · 25 mm · f/5.6 · 1/1250 s · ISO 125
Why this photograph? The 25 mm shows the people in their environment and connects their clothing with the colors of the cars around them.
Burst mode and discretion: settings that matter too
I systematically use burst shooting. For everything that is not sport, I generally favor a slower burst rate, while I switch to a high burst rate for sport.
I also often use silent mode and electronic first-curtain shutter when the situation allows it. For a portrait in particular, discretion can make a real difference: when the person cannot hear the shutter, they often remain more natural and more easily forget about the camera.
These settings do not necessarily change exposure, but they can have a direct influence on the way you work and on the subject's behavior.
The articulating screen: another way to stay responsive
I obviously see the settings in the viewfinder when I shoot, but with experience I do not necessarily need to consciously pay attention to them for every photograph. I mainly check when something seems unusual.
I also increasingly use my camera's articulating screen. It allows me to make very low, ground-level compositions or, conversely, to photograph above my head while maintaining precise framing.
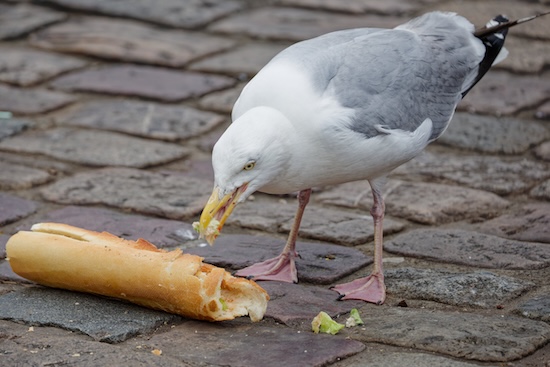
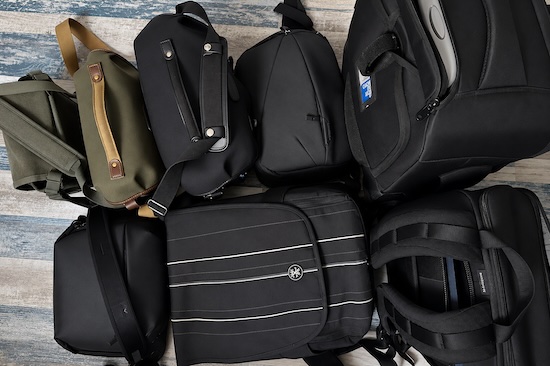
On Place Dalton, a seagull does not seem to have read the sign forbidding it from stealing from someone else's plate. A fleeting scene, but my shoulder bag allows me to stay responsive.
Boulogne · 300 mm · f/5.6 · 1/500 s · ISO 400
Why this photograph? The 300 mm lets me keep my distance while isolating the seagull and its unlikely meal in the middle of the square.
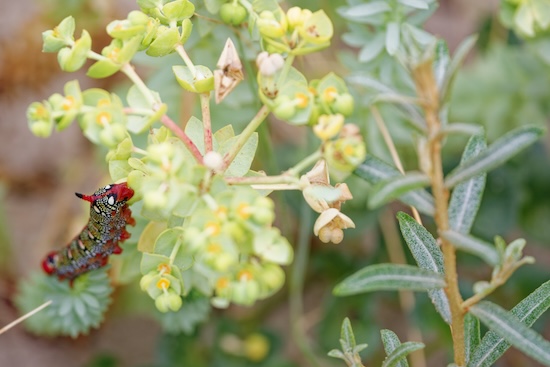
Among the sea spurges of the Slack dunes, this caterpillar stood out strikingly against the vegetation.
Ambleteuse · 300 mm · f/5.6 · 1/1000 s · ISO 800 · +0.3 EV
Why this photograph? The 300 mm allows a tight frame without getting too close, while f/5.6 separates the subject from the vegetation.
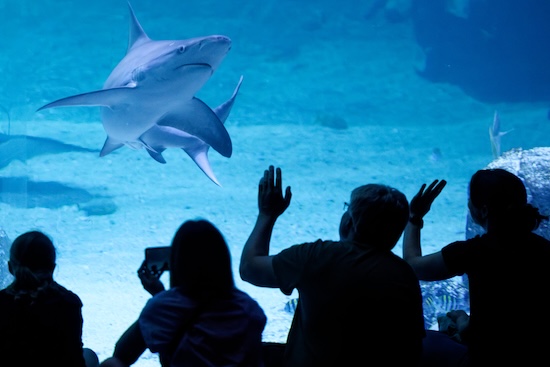
A shark approaches as fascinated visitors watch. For a few seconds, the boundary between the animal and the public seems to disappear.
Boulogne-sur-Mer · 223 mm · f/5 · 1/320 s · ISO 20 000
Why this photograph? ISO 20,000 makes it possible to keep 1/320 s despite the aquarium's low light, preventing the shark and the children's movements from becoming blurred.
In the end, settings should become automatic
There is therefore no magic combination of shutter speed, aperture and ISO that works in every situation. The settings depend on the light, the subject, the focal length and the image you want to achieve.
The key is to understand what each parameter does so that you can make a choice quickly. With experience, you eventually stop thinking about every setting: just like changing gears in a car or on a motorcycle, it becomes automatic.
And when something unexpected happens, the most important thing is simply to look at what is happening in front of you. A perfectly configured camera is useless if you forget to look at the subject.
What should you take away from all this?
In practice, there is no perfect setting or universal recipe. The right setting is the one that allows you to respond quickly to the situation and to the image you want to make. To avoid camera shake, the traditional rule is to use a shutter speed close to the reciprocal of the focal length: at 100 mm, for example, around 1/100 s. This was a good basic rule before lens and sensor stabilization became widespread. With a stabilized lens or camera, it is now often possible to go considerably lower, for example 1/50 s at 100 mm, if the subject is stationary: stabilization compensates for small movements by the photographer. It cannot, however, freeze a moving subject: in that case, you need to maintain a sufficiently fast shutter speed. Aperture priority gives me responsiveness in everyday work, while manual mode allows me to lock the settings precisely when the light is unpredictable. ISO should not be considered the enemy: a sharp image at ISO 12,800 or 20,000 is better than a blurry photograph because you insisted on staying at ISO 400. Shutter speed, aperture and sensitivity should ultimately become automatic, leaving your full attention for the subject, the light and the composition.
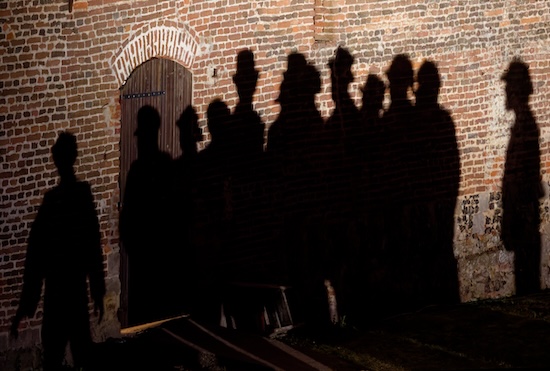
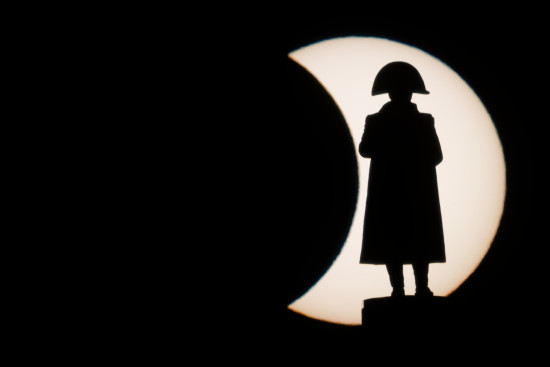
A scene from Les Misérables becomes a shadow theater. A brick wall, a few silhouettes… and imagination does the rest.
Montreuil · 300 mm · f/5.6 · 1/25 s · ISO 25 000
Why this photograph? The 300 mm tightens the frame considerably and turns the elements of the scene into silhouettes, while 1/25 s and ISO 25,000 make it possible to work in very low light. Stabilization did its job: without it, the image would have been blurry.
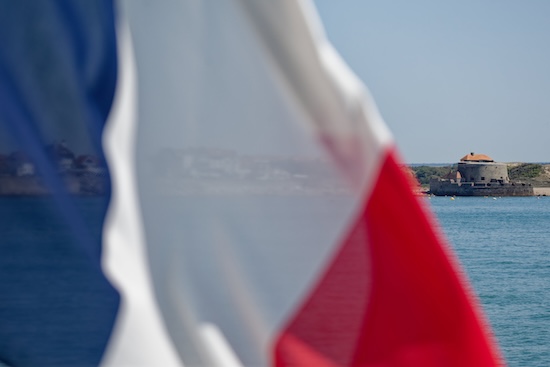
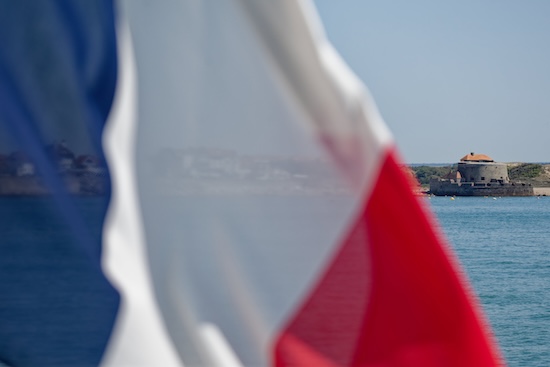
As the wind moves, the French flag reveals Fort d’Ambleteuse. Two symbols of national heritage brought together in the same image.
Ambleteuse · 123 mm · f/5.6 · 1/5000 s · ISO 500
Why this photograph? The 123 mm lets me frame the flag as a moving foreground element and reveal the fort through the opening created by the wind.
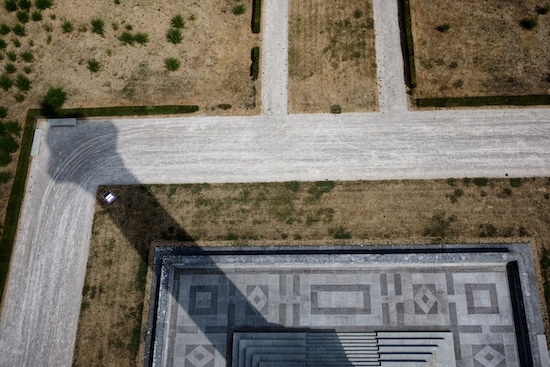
From above, the Napoleon Column leaves its imprint on the ground. Its shadow stretches across the garden paths.
Wimille · 35 mm · f/5.6 · 1/1000 s · ISO 160
Why this photograph? The 35 mm shows both the column and its shadow, while the elevated viewpoint turns the shadow into a strong graphic element.
All the photographs presented on this page were taken in June and July 2026, as part of my assignments and personal photography. I am taking advantage of this August, during my vacation, to put these few tips into writing and share the way I work in the field. I obviously do not claim to have the absolute truth: these settings and this way of working are my own, probably improvable and certainly open to criticism. So take from these tips whatever may be useful to you, adapt them to your own practice… and leave the rest!