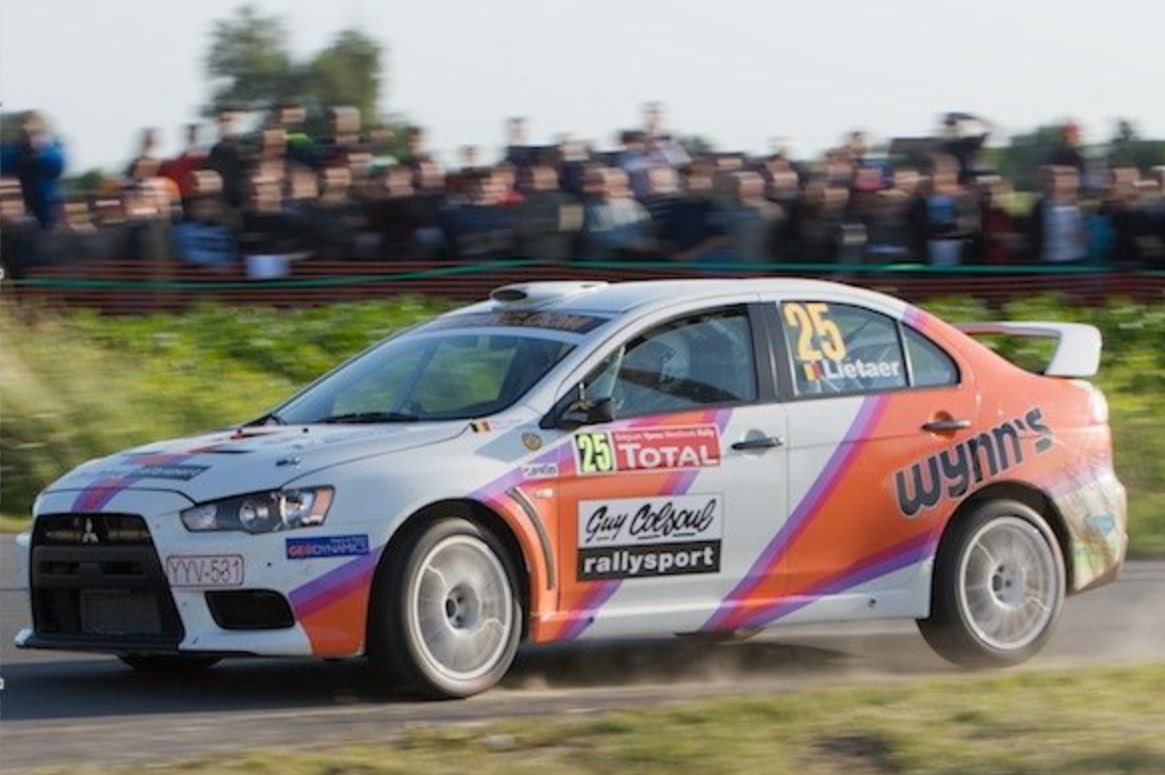
Ypres Rally - 1D MK III - 78mm
(IS en mode 2) - 1/160 - 160 ISO - f/9

How to Create a Panning Effect?
Essential for photographing motorsports such as car rallies, Formula 1 or motocross championships, panning is one of the best techniques for isolating a moving subject (motorcycle, car) and giving it a sense of dynamism and movement.
Without this technique, the vehicle’s wheels would be frozen and the final image would look static: a rally car charging along at 120 km/h with locked wheels? Unrealistic! To create this panning effect, you simply create motion blur by following the subject through your viewfinder while using a slow shutter speed (typically 1/80 to 1/160 s). This technique also has the advantage of partially blurring unattractive backgrounds.
Ypres Rally - 1D MK III - 78mm
(IS en mode 2) - 1/160 - 160 ISO - f/9
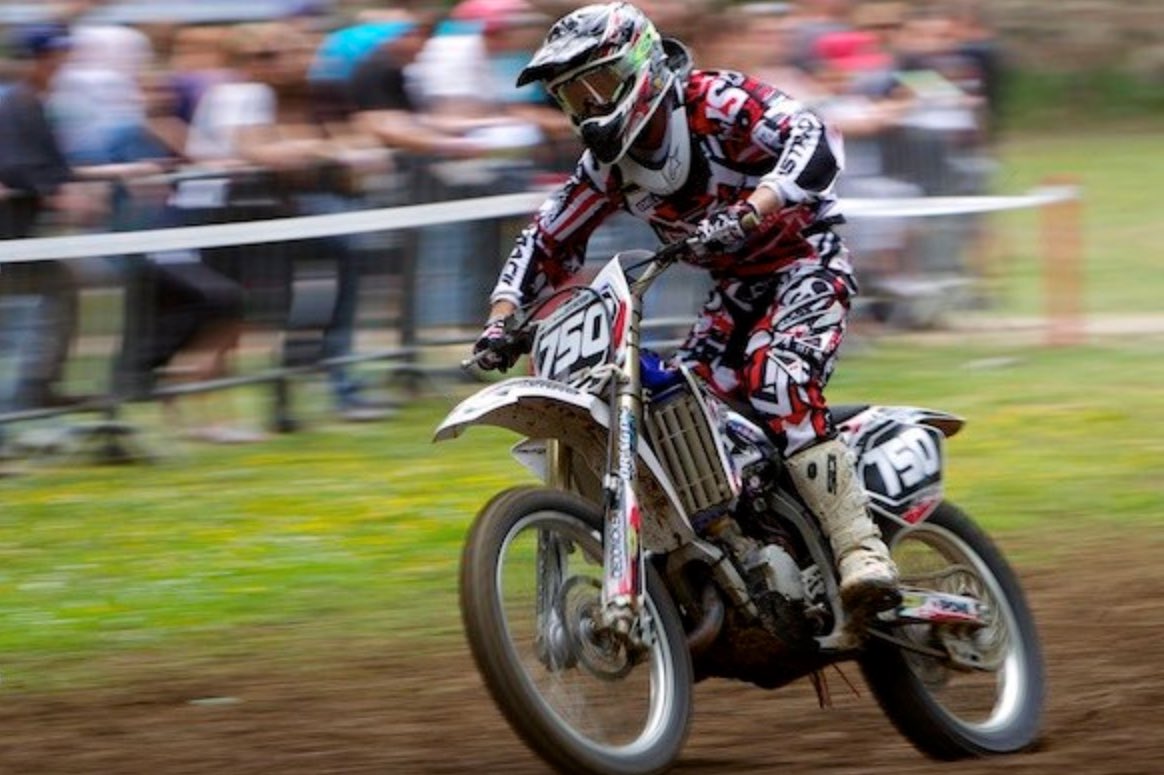
Motocross championship - 1D MK IV - 153mm
(IS en mode 2) - 1/100 - 100 ISO - f/6.3
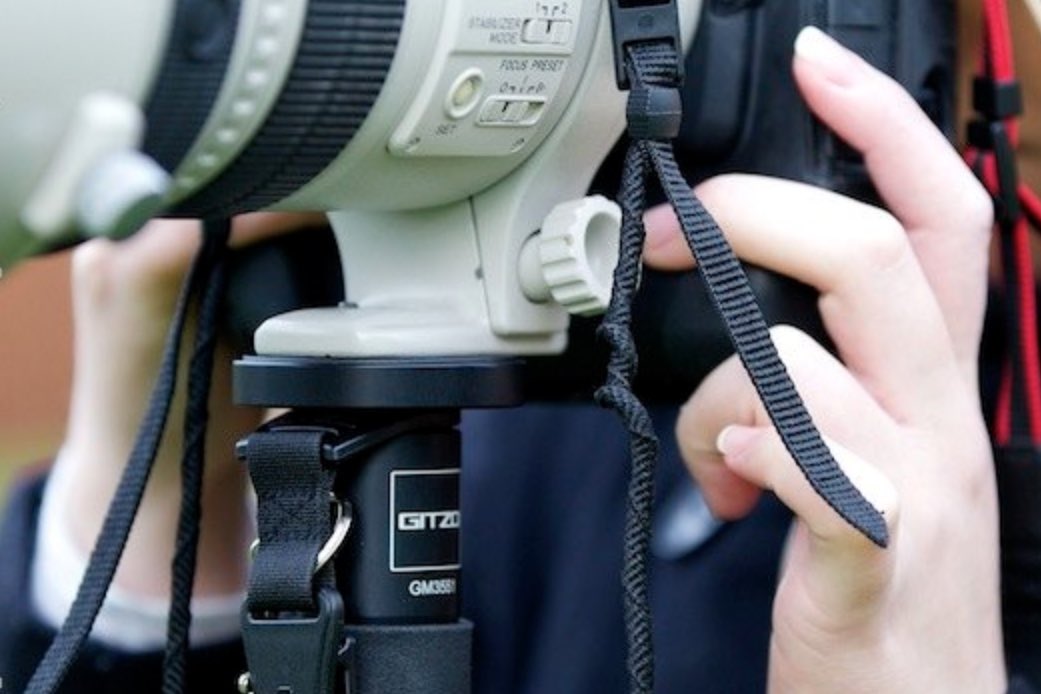
Using a monopod or a stabilized lens makes it much easier to achieve a nice panning effect.
Using a monopod, in addition to taking the weight of your equipment, allows you to maintain a constant vertical axis. The photographer can therefore focus solely on the subject’s horizontal movement.
A long focal length is strongly recommended if you are a beginner: a 70-200 or a 300mm. Using a wide-angle lens is possible, but much more complex because of the change in parallax while following the subject. A wide-angle lens is also more dangerous for the photographer: to get a full-frame shot of the subject, you have to get very close, at your own risk if it is a rally…
Some lenses feature image stabilization: IS (Image Stabilizer) on Canon lenses and VR (Vibration Reduction) on Nikon lenses. This technology uses sensors inside the lens to detect and measure the mechanical vibrations caused by the photographer. The system then compensates for these vibrations by moving a group of lens elements to stabilize the image. For panning, only vertical movement should be corrected. This is what Canon’s IS Mode 2 does, and it is the mode you should use when panning. On Nikon VR lenses, the type of movement (horizontal or vertical) is detected automatically in “Normal” mode.
Also, using a monopod and image stabilization at the same time can confuse the sensors of the IS or VR system: if the system detects no vibrations from the photographer, the result can be worse than shooting handheld, particularly with shorter focal lengths. It is therefore usually essential to switch IS or VR off when using a monopod or tripod.
Recent cameras sometimes offer specific functions to make panning easier. On Canon cameras, the EOS R3 has Assisted Panning: in the Shooting menu 6 > Assisted Panning, select Enable. The function is available in Tv or M mode, but the R3 automatically switches to the electronic shutter, so there is no additional shutter setting to select manually. The maximum burst rate drops to about 7.5 frames/s. With a compatible lens, the camera corrects part of the camera shake and subject blur at the moment of capture.
However, there is an important detail: on the R3, Assisted Panning cannot be used if the Anti-flicker shooting function is enabled. You must therefore disable it before enabling Assisted Panning. This is worth knowing, particularly if you photograph under artificial lighting where you normally use anti-flicker shooting. For outdoor panning in daylight, this is obviously not a problem: simply leave anti-flicker shooting disabled. Stabilization and subject-blur correction are applied during capture, independently of the lens stabilization setting.
The EOS R6 Mark II and EOS R7 offer a dedicated Panning Mode in Special Scene modes. Simply select Panning Mode and choose an Effect level: low, medium or high. The higher the effect, the slower the shutter speed selected by the camera to strengthen the background blur. With a compatible lens, the camera can also reduce subject blur. On the R7, Canon specifies that the shutter speeds are slower and that the mode is intended for panning during shooting.
With the RF 100-500mm F4.5-7.1 L IS USM, which is among the Canon lenses compatible with Panning Mode and Assisted Panning, you can therefore use these functions on the R3, R6 Mark II and R7. Canon specifically lists the RF 100-500 as compatible with the R3.
If you prefer to pan manually, nothing changes: you can work in Tv or M mode and choose the shutter speed yourself. With the RF 100-500, IS Mode 2 is the appropriate setting for horizontal panning: it stabilizes movements that are not part of the pan. IS Mode 1 is the general-purpose mode, while IS Mode 3 is intended for subjects with unpredictable movement. For a classic pan, IS 2 is therefore the mode to prioritize.
On Nikon Z mirrorless cameras equipped with a compatible VR lens, the Normal and Sport modes are generally available. Nikon recommends Sport mode for panning and specifies that in both Normal and Sport modes, vibration reduction only corrects movements that are not part of the pan: for a horizontal pan, it therefore mainly acts on vertical movements. Available settings may vary depending on the camera and lens.
These modes do not perform miracles: the photographer’s technique remains essential. To use very slow shutter speeds, you mainly need to adapt the speed to the subject and its trajectory. With a 100-500mm, 1/60 s to 1/30 s is already a good range to experiment with; 1/15 s and slower are possible with practice, but the failure rate rises quickly, especially at 500mm. Panning Mode can help you obtain more successful images, but it does not replace a smooth, consistent follow-through.
To increase your chances of success, the shooting location should give you a 180° field of view, allowing you to see the subject approaching and start following it through your viewfinder well before pressing the shutter. Ideally, the background should contain spectators: it looks good, shows the importance of the event and, above all, strengthens the panning effect. If your background consists only of horizontal elements such as a safety barrier or a white road-marking line, the panning effect will be much less convincing.
Use Shutter Priority mode (Tv on Canon, S on Nikon) with a shutter speed between 1/160 to start and 1/60 as the absolute minimum. The slower the shutter speed, the more impressive the panning effect. The downside is that the slower the speed, the harder it is to keep the subject perfectly sharp: at a slow shutter speed, you will need a lot of luck to get a good result. In any case, there will be many failures, and out of a burst of around fifteen images, only two or three may be perfect. Experiment according to the subject’s speed.
Depth of field is not very important for panning, so you can set your camera to a very low ISO sensitivity (ISO 100, for example), ideally allowing you to use an aperture of f/8 or narrower in daylight: the sharpness of your lens, especially if it is not a high-end model, will be very good.
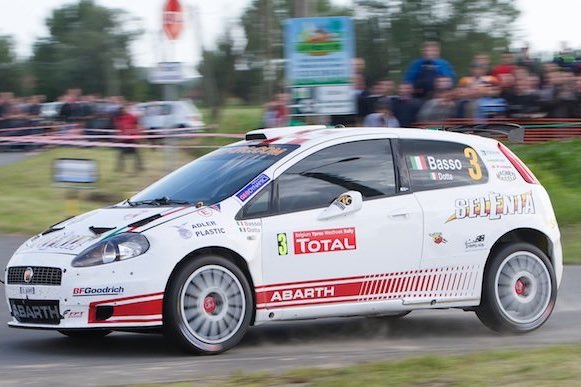
1D MK III - 80mm - 1/160 - 160 ISO - f/6.3
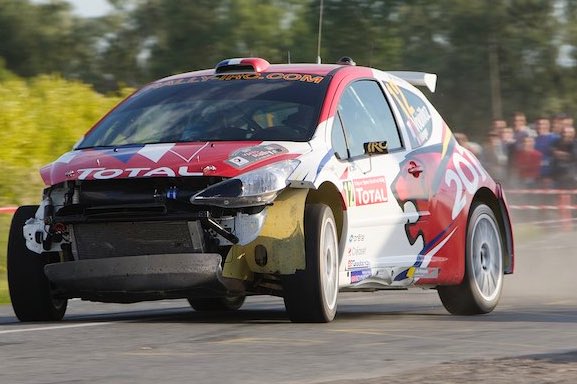
1D MK III - 200mm - 1/125 - 160 ISO - f/10
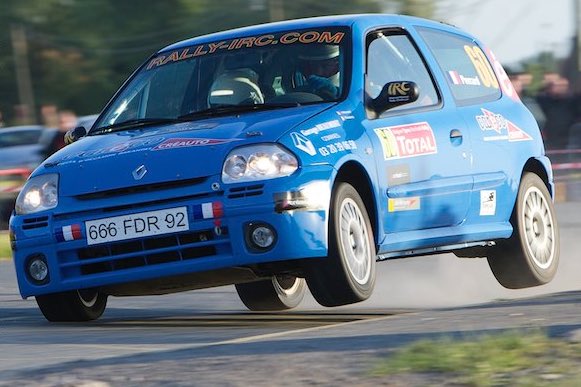
1D MK III - 200mm - 1/125 - 160 ISO - f/8
More experienced photographers can choose Manual Mode, again with a shutter speed between 1/60 and 1/160.
Once your settings are complete, you need to “merge” with your equipment and rotate from your hips to follow your subject. You can then use autofocus and, once the subject reaches the ideal position (with spectators in the background, for example), simply press the shutter while continuing your rotation. Bingo, it’s in the bag!
Finally, if you are planning to attend a car rally to practise panning, follow the safety instructions scrupulously and do not put your life at unnecessary risk by standing anywhere on the course of the cars just to get “THE shot”. Also take a look at these sports photography tips.
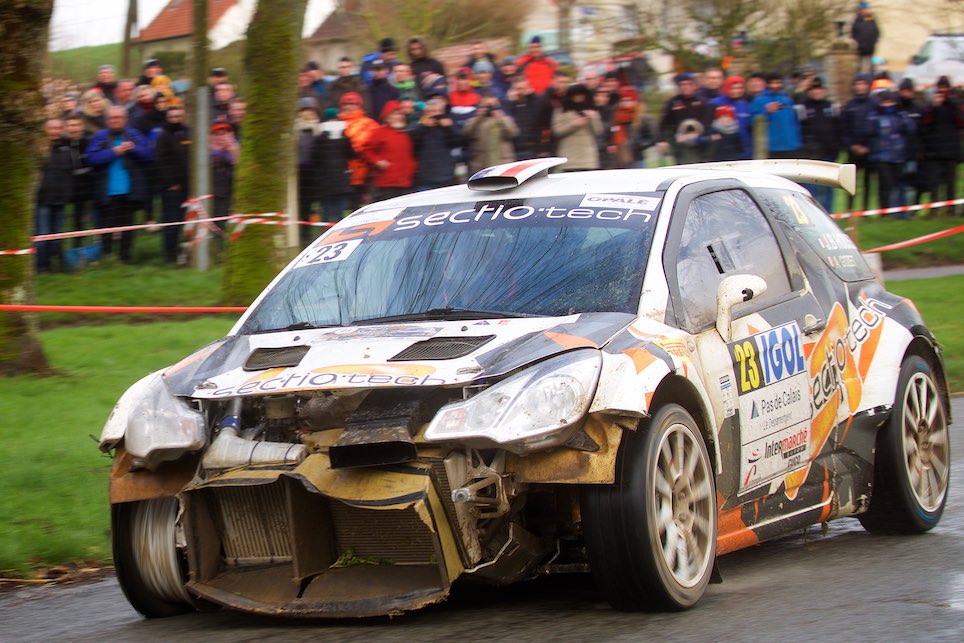
1DX – 100mm – 1/160 – 250 ISO – f/7.1
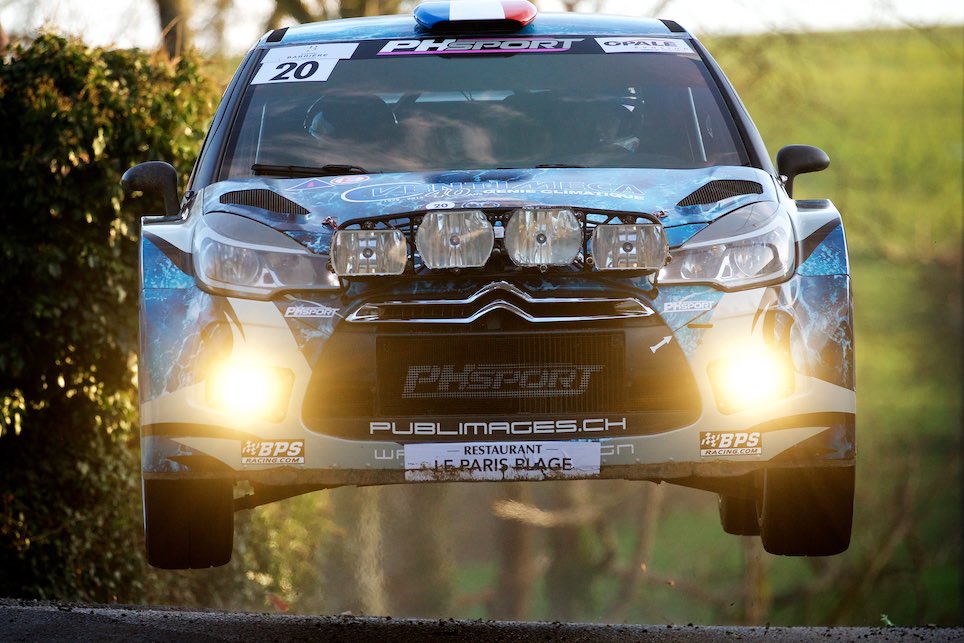
1DX – 330mm – 1/800 – 2000 ISO – f/5.6
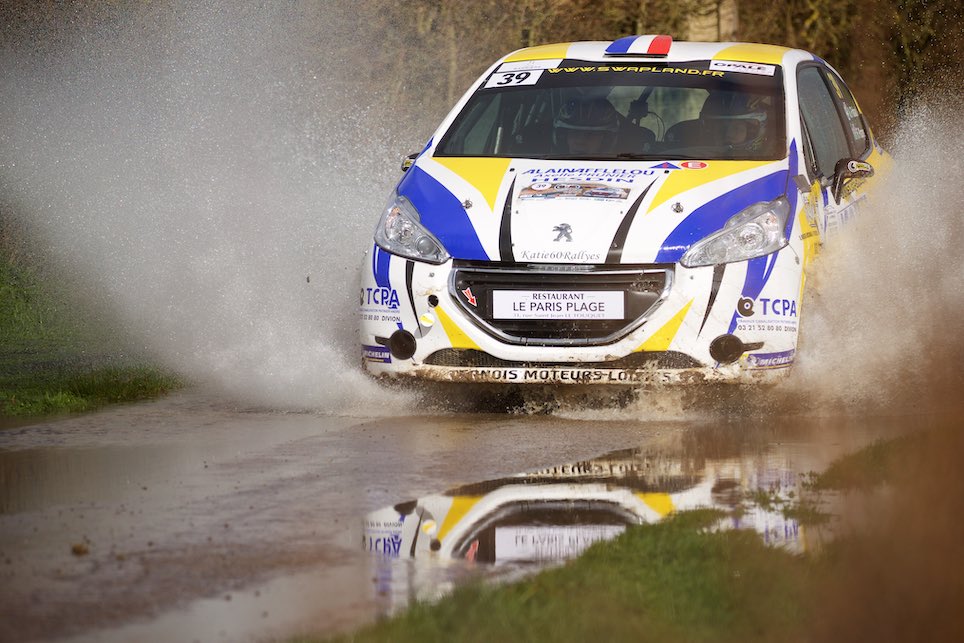
1DX – 260mm – 1/2000 – 250 ISO – f/5
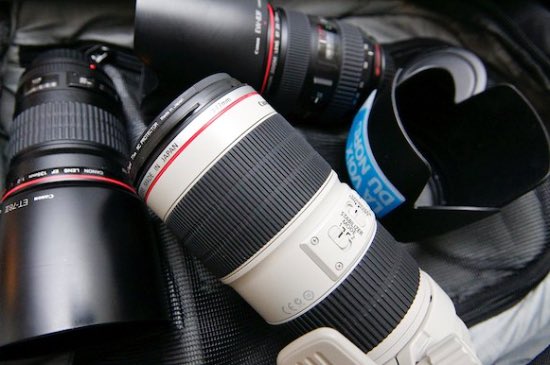
How to choose a lens?
The lens is the component that has the greatest impact on image sharpness [...]
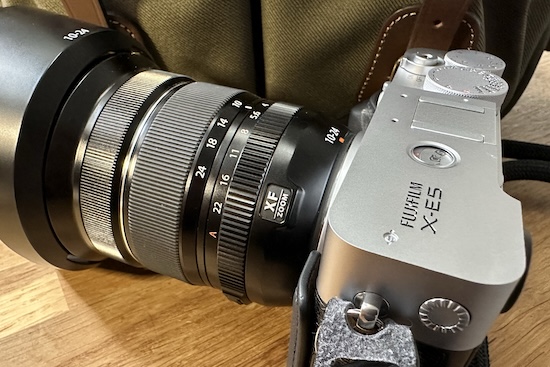
How to choose a camera?
Today, the choice is mainly between mirrorless cameras and the used market [...]
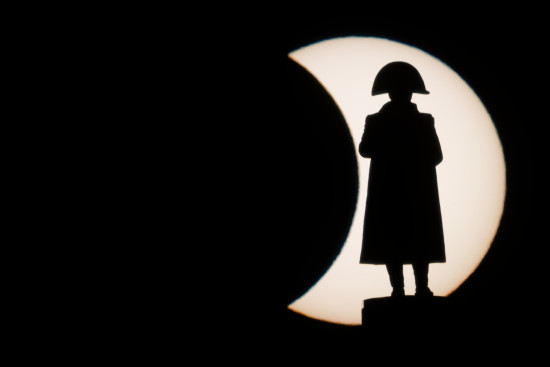
How I photographed Napoleon during the solar eclipse?
An image like this does not happen by chance [...]

How I set up my camera
There is obviously no universal setting that works for every situation. The choices [...]
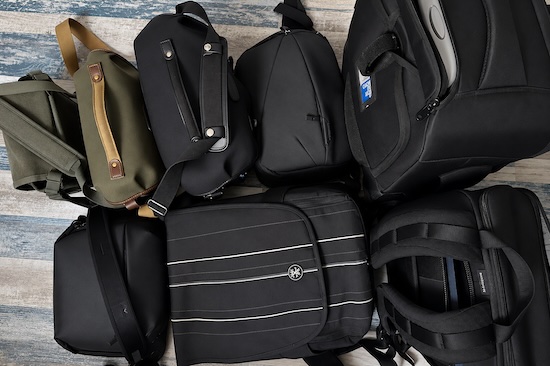
How to choose a camera bag
Finding the perfect camera bag to carry and protect your valuable equipment is [...]

How to choose a computer?
Clearly, in 2026, any recent laptop or desktop computer, whether PC or Mac, can [...]
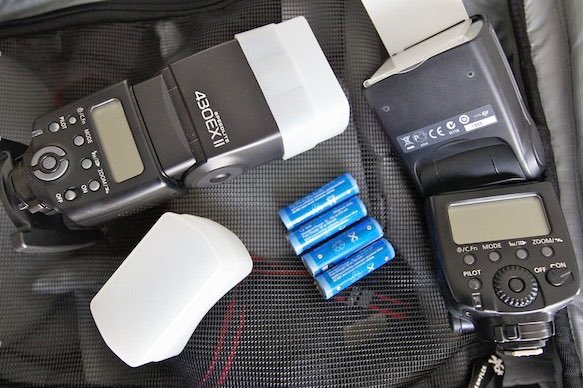
How to choose a speedlight?
A speedlight is far from essential for taking good photographs. Recent cameras [...]
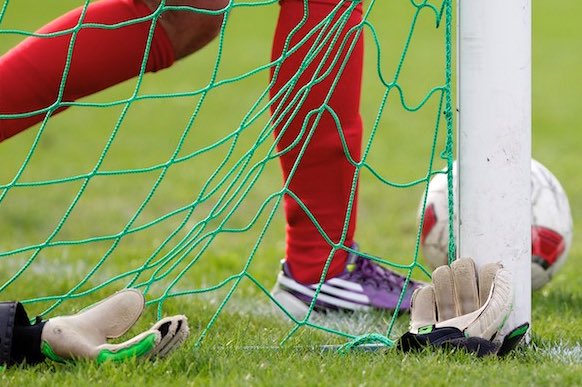
Photographing amateur football
For those getting started in sports photography, covering an amateur football match is a good choice [...]
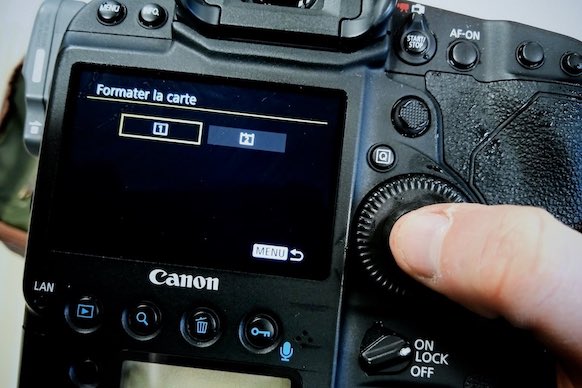
Recovering deleted photos
Accidentally deleting the contents of a memory card by formatting it can happen to anyone: don't panic [...]
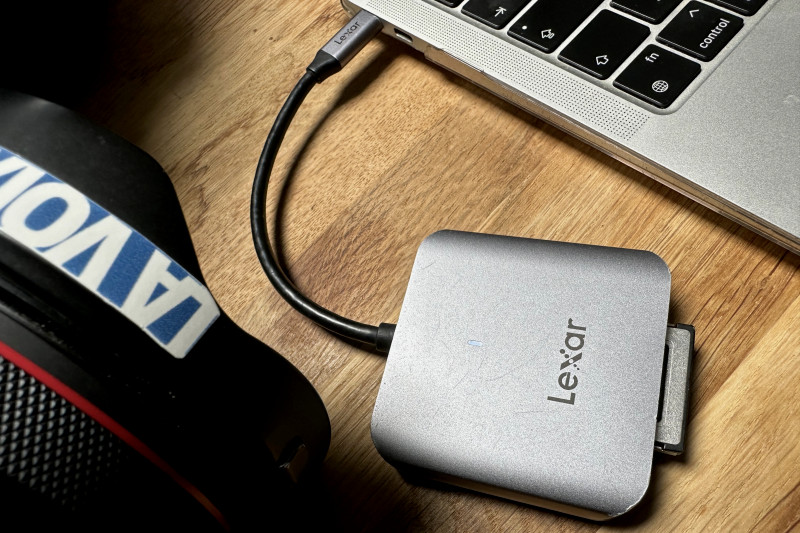
My workflow with DxO and Photo Mechanic
Why I spend less than a minute (per photo) on post-processing my assignments [...]

Photographing sports
Sports photography is quite a challenging field to master. It requires [...]
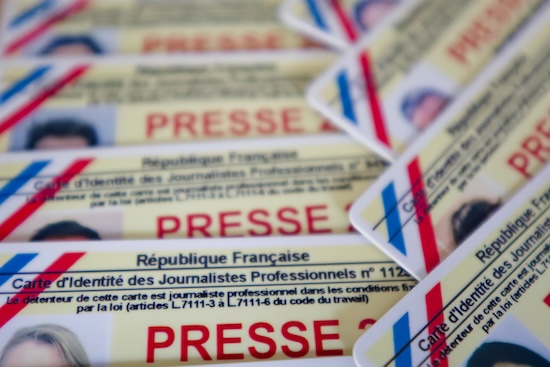
Getting press accreditation
Press accreditation is the essential pass that allows you to photograph a concert, event [...]

Photographing a concert
Photographing a concert or show is relatively complex, but very rewarding [...]
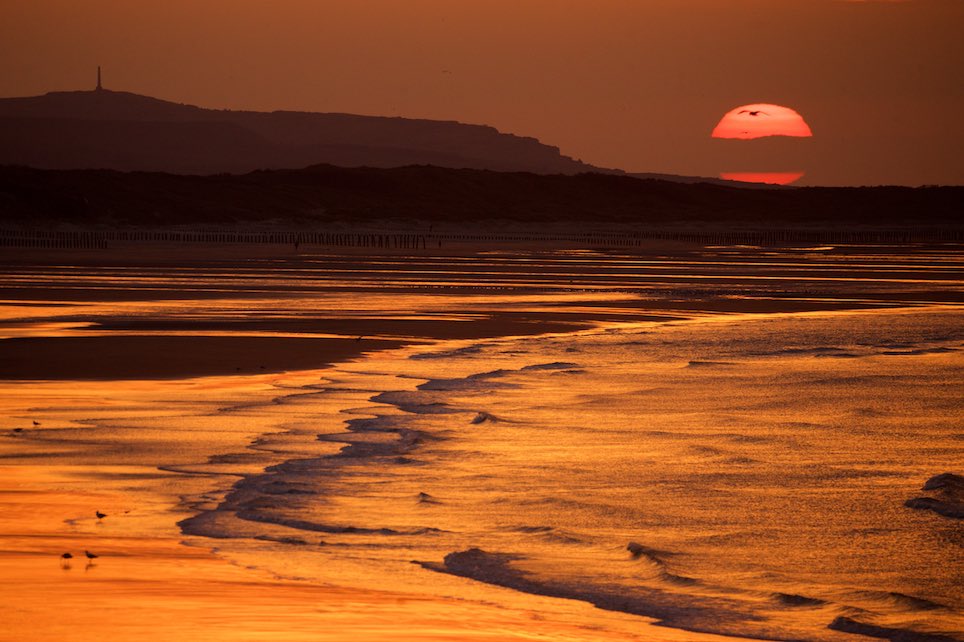
Photographing a sunset
Photographing a sunset is a real treat for both the eyes and the photographer, impossible to [...]
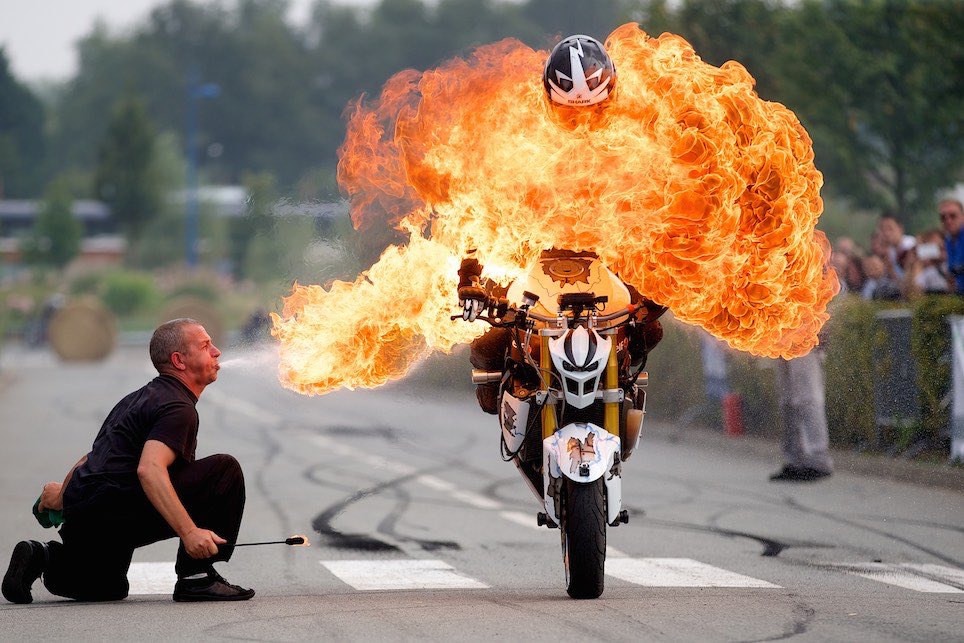
10 tips for better photos
A few tips, in no particular order, to avoid common mistakes. The very first tip [...]

How to create a panning effect?
Essential for photographing motorsports such as rallies, F1 or [...]
Photography in the rain
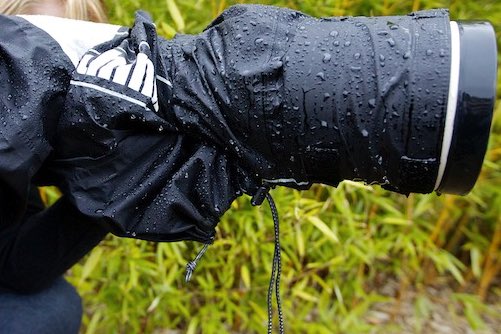
As I live in Pas-de-Calais, I should have some expertise when it comes to answering this [...]
Photography basics
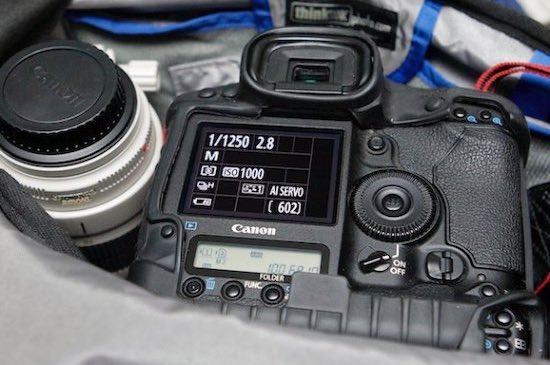
When taking a photograph, the photographer can adjust four parameters to compose and control [...]