It all started with Aperture
Since 2007, I had been working with Aperture, Apple’s professional (and paid) photo management and post-processing software. Over the years I had developed my own habits: organizing, selecting, processing and sorting images.
I could also caption my images (title, description, etc.).
Apple eventually discontinued Aperture development in 2014, and I had to change software.
I then had to relearn some of my workflow habits over a few weeks while adopting DxO PhotoLab, which was at version 4 at the time.
Today, my workflow relies mainly on DxO PhotoLab 10 (French software, around €240 with a lifetime license; it is generally worth buying around Black Friday in November) for RAW development, and Photo Mechanic (American software; I have had a lifetime license for several years, but it is now offered as a subscription) for captioning and sending photographs. Both programs are compatible with Mac and PC. I use them on macOS on an aging MacBook Air M1.
Post-processing starts when I press the shutter
For me, ideally (although this is not always the case; I do miss sometimes), a press photograph should already be usable straight out of the camera. The JPEG produced by the camera should be good enough to send if the news requires it.
A slight underexposure or overexposure can obviously be recovered in the RAW, but I consider this a fallback rather than a working method. A poorly exposed or poorly framed photograph simply means more time spent in front of the computer afterwards.
I also check the horizon in DxO PhotoLab. The G shortcut displays a grid that allows me to check horizontality very precisely. I regularly correct photographs by just 1°: it is not much, but it can immediately be visible on a horizon line, a building or architecture.
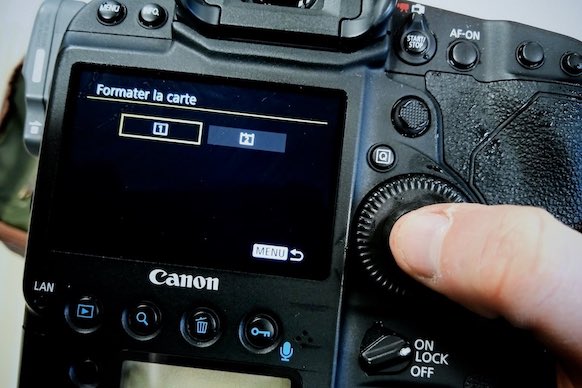
Two memory cards in the Canon R3 (and R6)
On my Canon R3, I simultaneously record a RAW on the CFexpress card and an L-quality JPEG on the SD card. This JPEG can be sent directly from the camera in the event of urgent news, for example a demonstration or breaking-news incident.
It is also a safety measure: if one memory card has a problem, the assignment is not completely lost because I have a second card containing the JPEGs.
On my Canon R6 Mark II, the principle is similar with its two SD slots: one card for RAW files and the other for JPEGs.
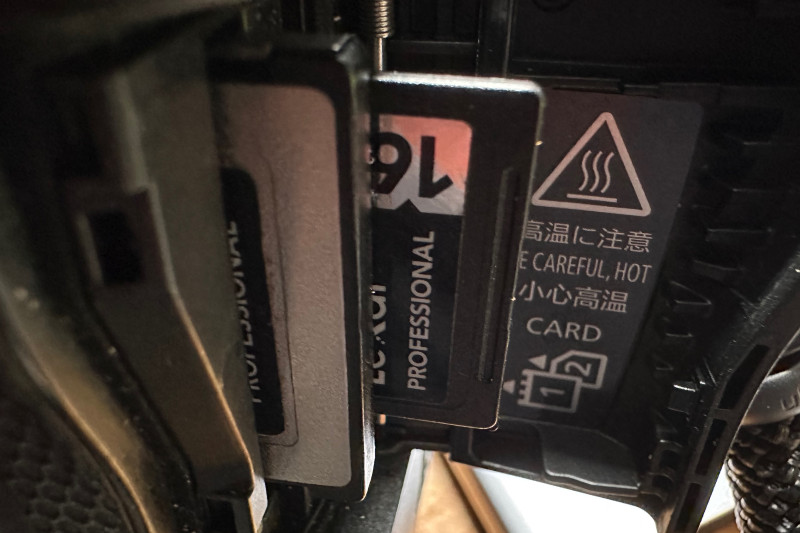
A camera body with two memory-card slots is ideal: one card recording RAW, and one card recording L-quality JPEGs (backup or direct transmission).
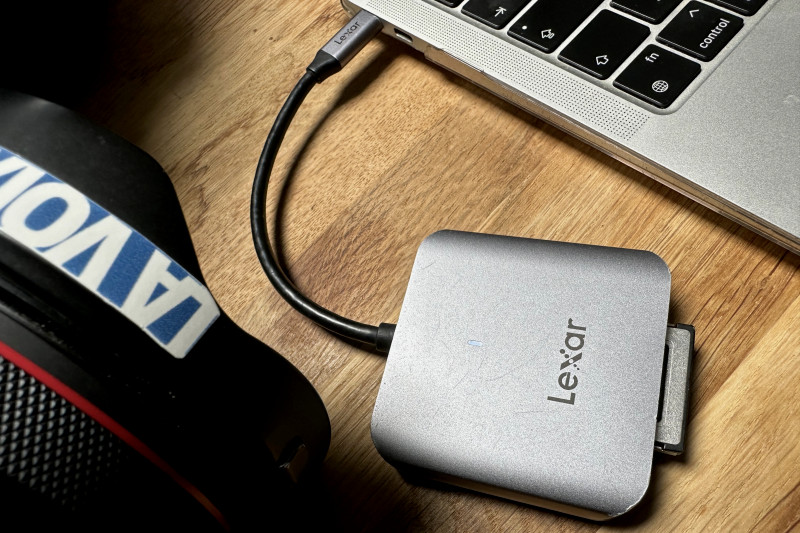
A USB 3 card reader for CFexpress Type B cards. Offloading is very fast to an SSD. I use another reader for SD cards.
Culling starts in DxO PhotoLab
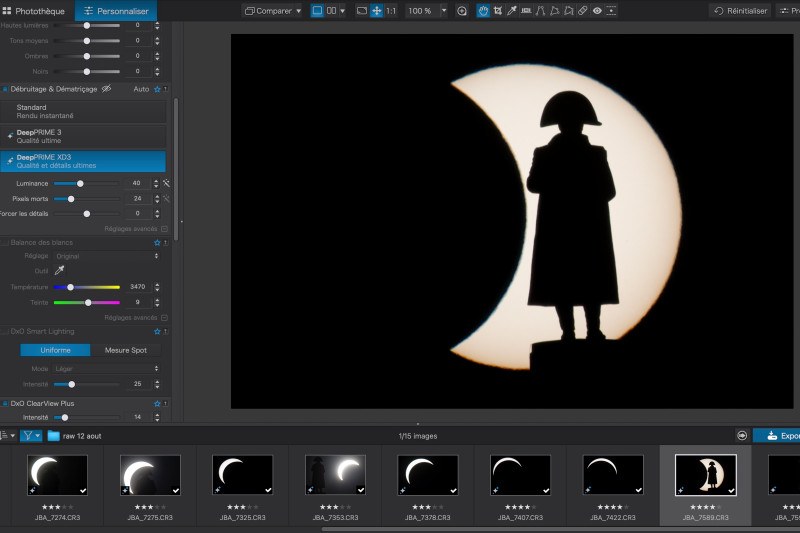
I offload my cards to my Mac’s internal SSD, into a temporary folder usually named with the date and type of assignment. I then open the folder directly in DxO PhotoLab 10.
I start culling by rating the images: 3 stars, I keep it; 4 stars, it’s great; 5 stars, it’s excellent. I generally work backwards, from the most recent photograph to the oldest.
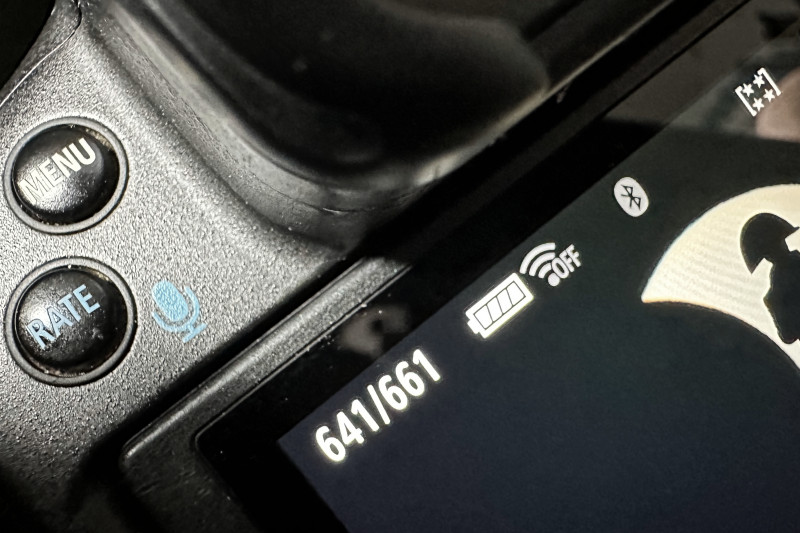
When I spot an interesting image directly on the Canon R3, I can also rate it using the camera’s rating button. The selection is then already visible when I open the images in DxO. I can therefore sometimes start culling before I am even in front of the computer.
For bursts, I do not necessarily look at every image one by one. If five or six photographs are almost identical, I can usually tell very quickly which one is the best.
On an assignment of 300 photographs, I will generally keep fewer than fifty. Culling is an essential part of saving time: it is faster to process 40 good photographs than to develop 150 images “just in case”.
I develop one photograph first and copy the settings
I do not use a DxO preset. As soon as I start rating a photograph, I make my adjustments on it, then copy the corrections and apply them to the following images I am keeping.
For sharpening, I simply enable Unsharp Mask with my usual settings. I do not spend my time looking for a different combination for every image.
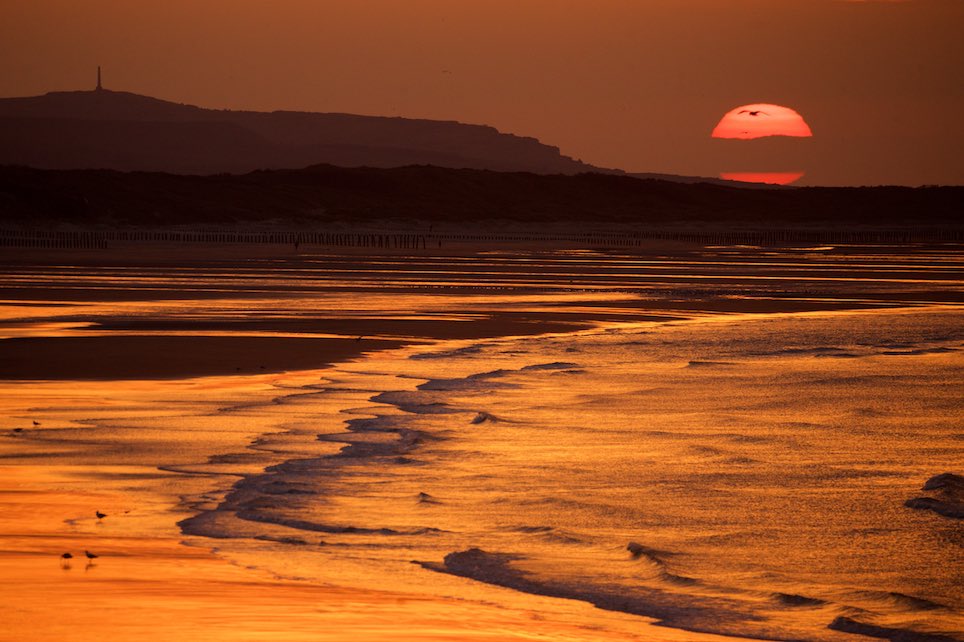
I can adjust highlights when the file requires it. In Nord-Pas-de-Calais, white or grey skies are quite common, and recovering them can sometimes bring back some detail in the sky.
I leave white balance on AWB (Auto White Balance) on my R3 and only correct it in DxO when the automatic result is clearly wrong.
I also use ClearView Plus depending on the subject. On a landscape, it can improve overall contrast; I use it more sparingly when a natural rendering of the scene is important.
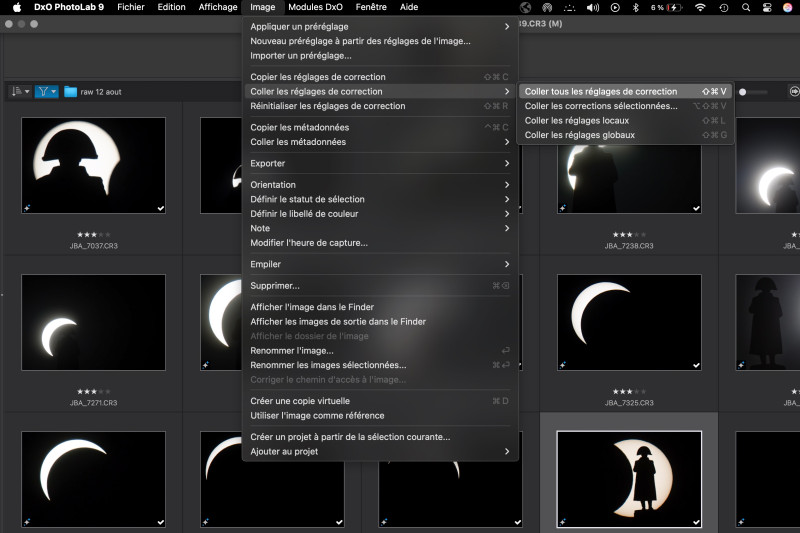
I make the adjustments on a first photograph, then copy/paste the settings to the others, adjusting another parameter individually afterwards if necessary.
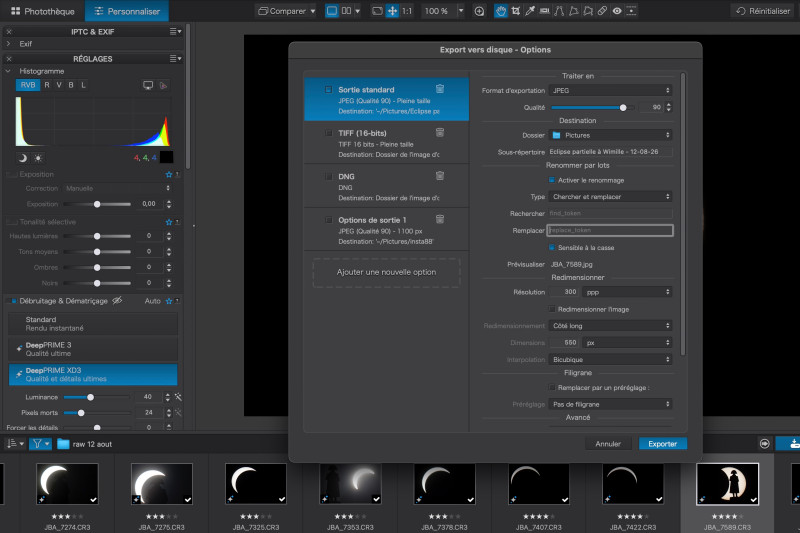
I export the RAW files (nearly 30 MB) as JPEGs (quality 90, less than 5 MB) and do not keep the RAW files, which take up far too much disk space.
Optical corrections: DxO does the work for me
I use DxO’s optical corrections: distortion, vignetting, chromatic aberrations and other optical defects that the software can correct.
DxO performs laboratory measurements on many camera and lens combinations. The software can therefore apply corrections adapted to the equipment being used, taking into account the characteristics of each camera/lens combination.
This is a real time-saver: I do not have to manually correct every optical defect photograph by photograph. Note that with a JPEG produced by the camera, the camera itself already performs some of these optical corrections.
DeepPRIME: noise reduction
Noise reduction is probably one of the main advantages of DxO in my workflow. I use DeepPRIME 3 on all my photographs, even at ISO 100.
As soon as I go above ISO 6400, I switch to DeepPRIME XD3 when time allows. XD3 is much slower on my MacBook Air with an M1 chip.
For an urgent sports assignment, particularly football or basketball, I therefore often prefer DeepPRIME 3: JPEG export is much faster. When I have more time, XD3 goes further in reducing noise in files shot at high sensitivities.
JPEG quality 90: a compromise between quality and file size
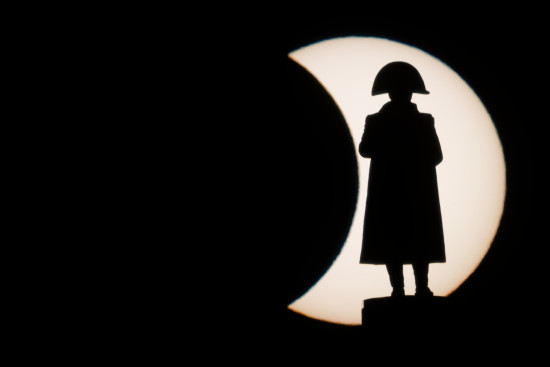
Once the photographs have been selected and developed, I display only the rated images and export them as quality-90 JPEGs into a folder named after the assignment, for example Partial solar eclipse in Wimille - 12-08-26.
For sending to the newsroom FTP, a photograph must not exceed 10 MB. JPEG quality 90 is therefore a good compromise between image quality and file size. There is little point in producing unnecessarily huge files only to send them to a server that imposes a size limit.
Photo Mechanic: captioning and sending quickly
Once my JPEGs are ready, I move to Photo Mechanic. I mainly use it because it is very fast and efficiently handles captioning and FTP transmission.
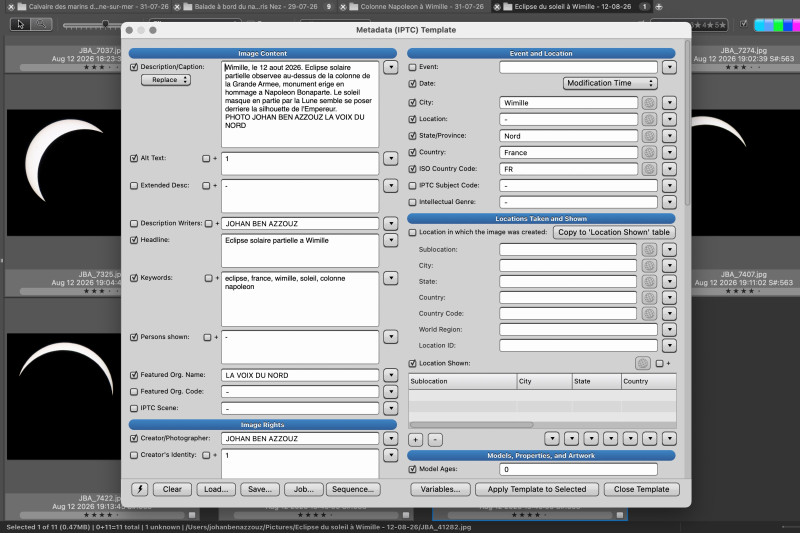
For a simple assignment, I create one caption and apply it to the whole series. For example:
Wimille, August 12, 2026, Partial eclipse beneath the statue of Napoleon on the Grande Armée Column. PHOTO JOHAN BEN AZZOUZ LA VOIX DU NORD.
For a more complicated assignment, such as a professional football match or a city council meeting (which involves many different people), I create a general caption and then modify each photograph just before sending it to add the name of a player, coach or political figure.
Shortcuts for captioning players
For sports, I prepare text files at the start of the season containing shortcuts with players’ names. Before each match, I simply update the file from the team sheet.
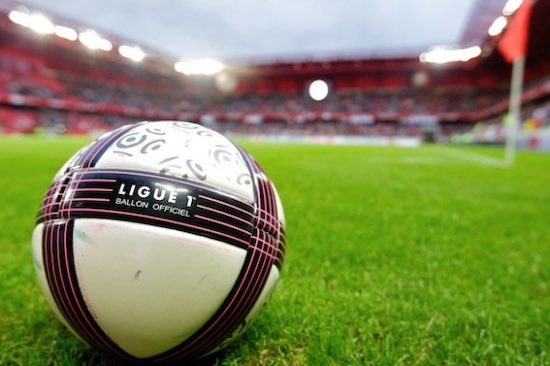
For example, if I photograph Boulogne’s number 10, I can type >B10> in Photo Mechanic to automatically display the corresponding name. The same principle can be used for different teams: B for Boulogne, D for Dunkerque, L for Lille, etc.
This makes it possible to caption photographs very quickly when they need to be sent immediately: for example, “Match action between >b10> and >d77>”. Photo Mechanic instantly and automatically replaces the codes with the full text: “Match action between Amine El Farissi (USBCO) and Aristide Zosso (Dunkerque).”
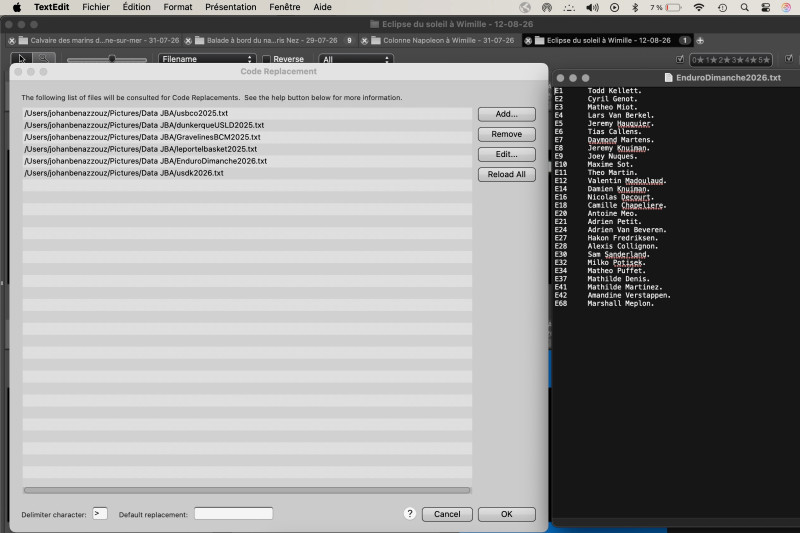
Very practical shortcuts for quickly captioning people; here is the file for the Enduro du Touquet (motorcyclists). If I type >E1>, it automatically inserts the rider with bib number 1.
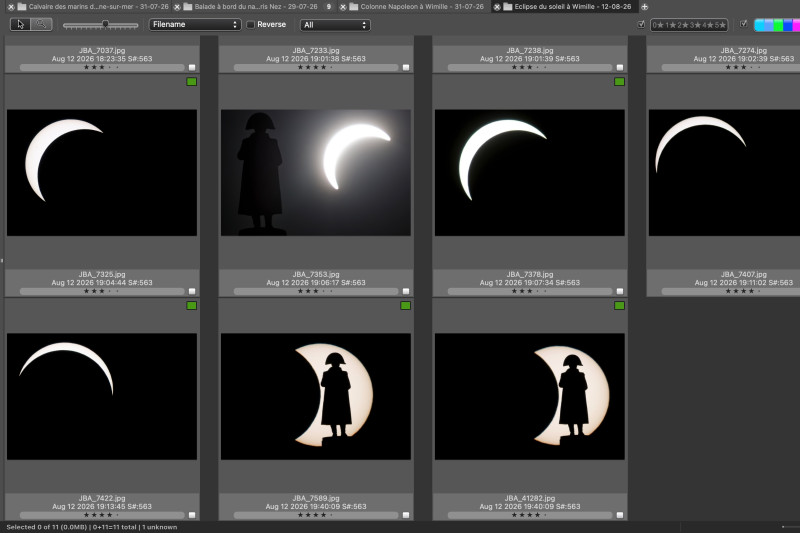
An overview of Photo Mechanic (available on Mac and PC). When it is green, the photograph has been successfully sent to the newspaper’s FTP server.
The special case of sports
For a match, I do not necessarily wait until the end of the game to process all my photographs. I can, for example, focus on the first twenty minutes or the first half, select around ten photographs, apply the settings copied from the first image, then move to Photo Mechanic to caption and send them.
I can send the photographs one by one or use the Command + U shortcut in Photo Mechanic to trigger FTP transmission. An editor is waiting for the images, so they need to be sent as they become available.
By halftime, a first selection may already have been sent. At the end of the match, I then go to the press room to make a complete second selection and send other images, including warm-ups, less important phases of play, a red card, a key incident or reactions.
The first cull is about speed. The second is about completeness.
JPEG becomes my archive
Once the JPEGs are exported, I do not keep the RAW files (around 29 MB per photograph on a Canon R3): the final JPEG, often less than 5 MB, is my definitive archive.
The file sent to FTP via Photo Mechanic is then handled by the La Voix du Nord documentation department, which can further enrich the metadata before integrating it into the DAM (Digital Asset Management), the newsroom’s digital management and archiving system.
Editors can then easily find the photographs in the archives using keyword searches and the various pieces of information associated with the files.
So, why less than a minute per photograph?
Ultimately, DxO PhotoLab alone is not what allows me to process my photographs so quickly. It is the entire workflow.
The photograph should already be correct when I take it. Culling sometimes starts directly on the camera. I keep only a small portion of my images. I develop one photograph first, copy its settings to the following ones and let DxO automate optical corrections and much of the noise reduction.
Then I export immediately usable JPEGs, caption them quickly in Photo Mechanic and send them to FTP. For sports, the workflow becomes almost a continuous flow between the field and the newsroom.
I can obviously go beyond one minute when the photo requires it. For example, a landscape with a blue sky can reveal dust spots on the sensor. DxO PhotoLab (since version 10, released in September 2026) can now automatically detect and remove them using its ReTouch tool.
But these are exceptions: although my sensor is often dirty, I therefore avoid stopping down the aperture too much to limit the damage!
To finish:
Note: here I use the Elite version of DxO PhotoLab. There are other versions of the software, but I do not know them well enough to detail their differences and limitations. This article is therefore not intended to compare the different versions of DxO PhotoLab or promote the software. I am not a DxO ambassador and I pay for it myself.
Since Apple discontinued Aperture, DxO PhotoLab has become my favourite photo development software. I also tried Lightroom, but I never really got into it: I find it too complex and somewhat over-engineered for the way I work. DxO better matches my needs: open my RAW files, make the few necessary corrections quickly and move on to the next photograph.
If I spend less than a minute post-processing most of my press photographs, it is not because I am trying to cut corners. Quite the opposite: I try to make sure that every step has a purpose.
A good press photograph must first be good at the moment I press the shutter. The rest is mainly about selecting, finalizing and quickly transmitting an image that is already usable.
Fast post-processing therefore starts before I even open my computer. Read also: Photo Editing and Photojournalism: Where Does Reality End?