Example 1

10 Tips for Better Photos
Here are a few tips, in no particular order, to avoid common mistakes. The first tip, before even talking about photography, is to check the battery charge and make sure the memory card is in the camera... I have gone out on assignment several times without a battery (left charging at home, and in the rush it is very easy to forget to check), including for a company visit in the Audomarois area and a race in the Dunkirk area! And that is a real disaster... So make sure you check your camera bag before leaving.
Take the time to read this guide to learn the basics: shutter speed on the camera body, aperture and focal length of the lens, sensor ISO sensitivity, and depth of field. With these few parameters, the photographer has full control over the look they want to give an image, so mastering these simple theoretical concepts is essential.
Example 1
Example 2
Example 3
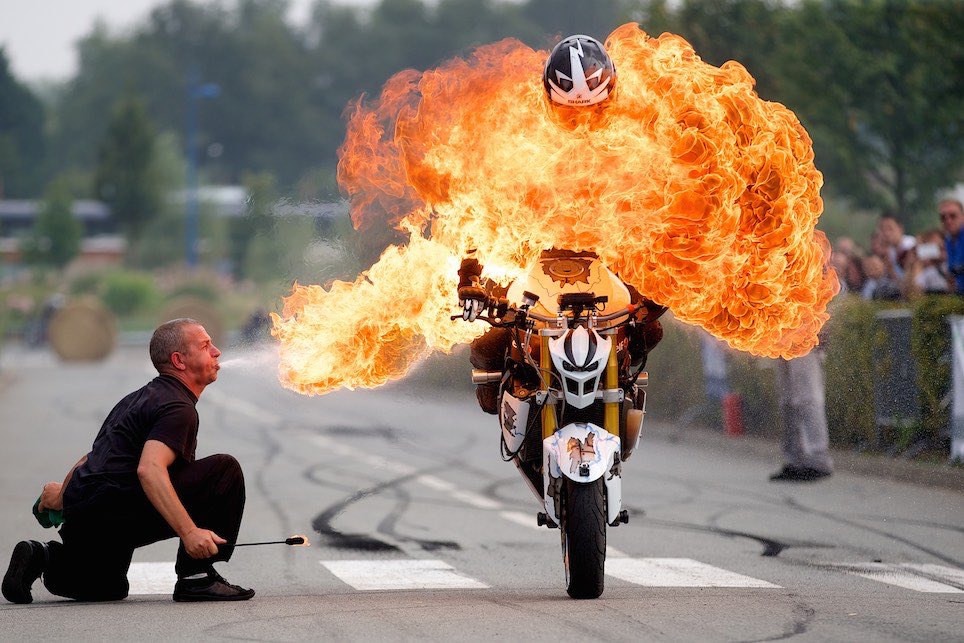
Example 1 : A fast shutter speed, here 1/200 s, freezes the movement of the motorcycle and the flame. With a slower shutter speed, the rider would be blurred.
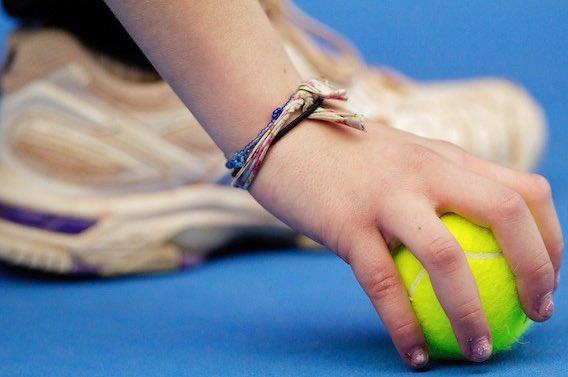
Example 2 : A wide aperture, here f/2.8, and a long 300mm focal length isolate the tennis ball and the hand by blurring the background.
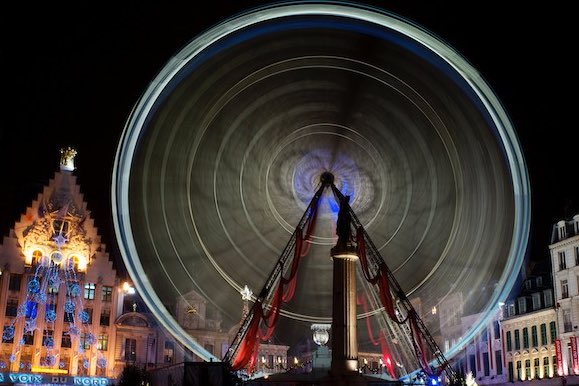
Example 3 : A long exposure (very slow shutter speed) using a tripod, here 9 s, creates a sense of movement in the Ferris wheel and allows a low ISO sensitivity to be used to reduce noise (grain in the image that reduces detail and quality).
Mastering your camera settings is essential for taking successful photographs. Do not read the manual at the last minute! Simply spend a good hour learning the important functions of your camera by heart: how to choose a mode — manual, shutter priority, aperture priority? How to choose white balance? How to choose the file format (RAW or JPEG)? How to choose the metering mode (spot, centre-weighted, evaluative)? Or how to format the memory card or choose ISO sensitivity? A good photographer can use their equipment in the dark without looking at the buttons: the eye in the viewfinder is enough because it displays the essential settings.
Ideally, a photograph should tell a story: do not hesitate to include a specific element in your composition to provide information. Luck is also the photographer's best ally: create your own opportunities by anticipating as much as possible. Being quick to react allows you to capture a scene that may never happen again.
Example 1
Example 2
Example 3
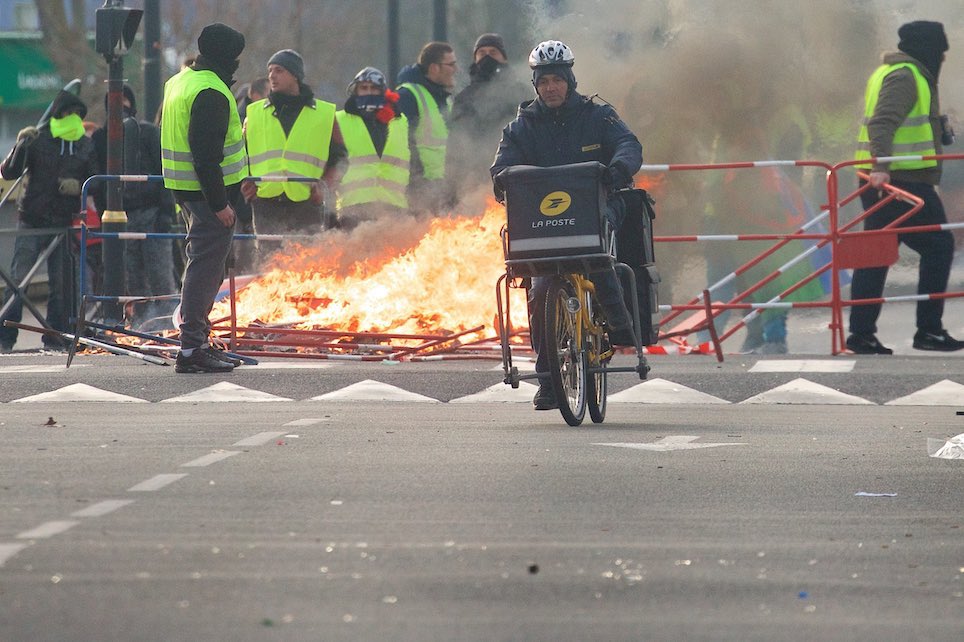
Example 1 : By staying focused and anticipating, you can capture an unusual scene like this one, on the sidelines of a Yellow Vest demonstration in Boulogne-sur-Mer, where this postal worker seems completely unperturbed. The scene lasts only a few seconds, so if you are not quick to react, there is very quickly nothing left to photograph.
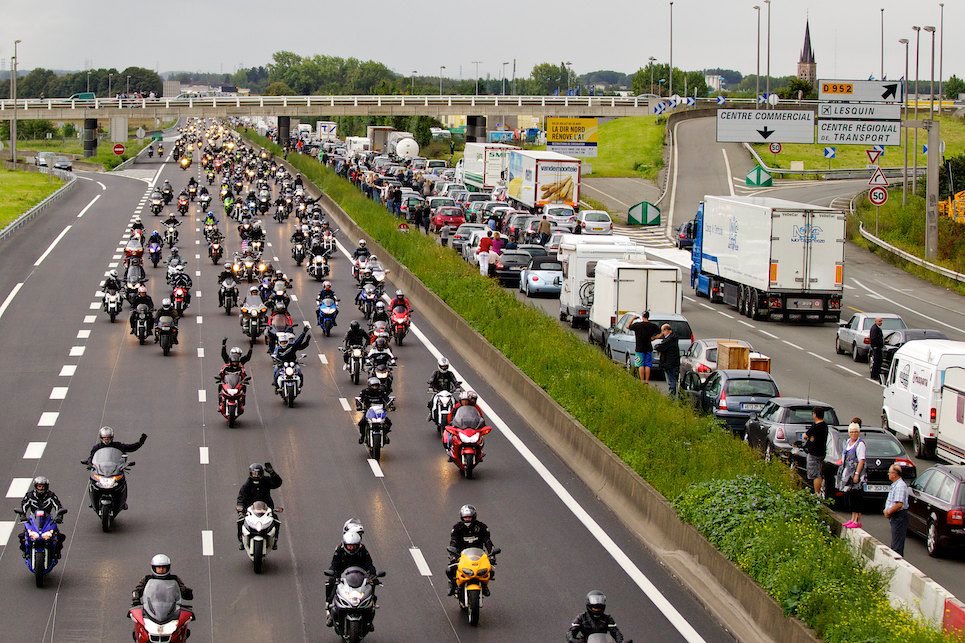
Example 2 : Thousands of motorcyclists protesting against measures from the Interministerial Committee for Road Safety is quite impressive, but including the “Lesquin / Centre commercial” sign in the image identifies the geographical location.
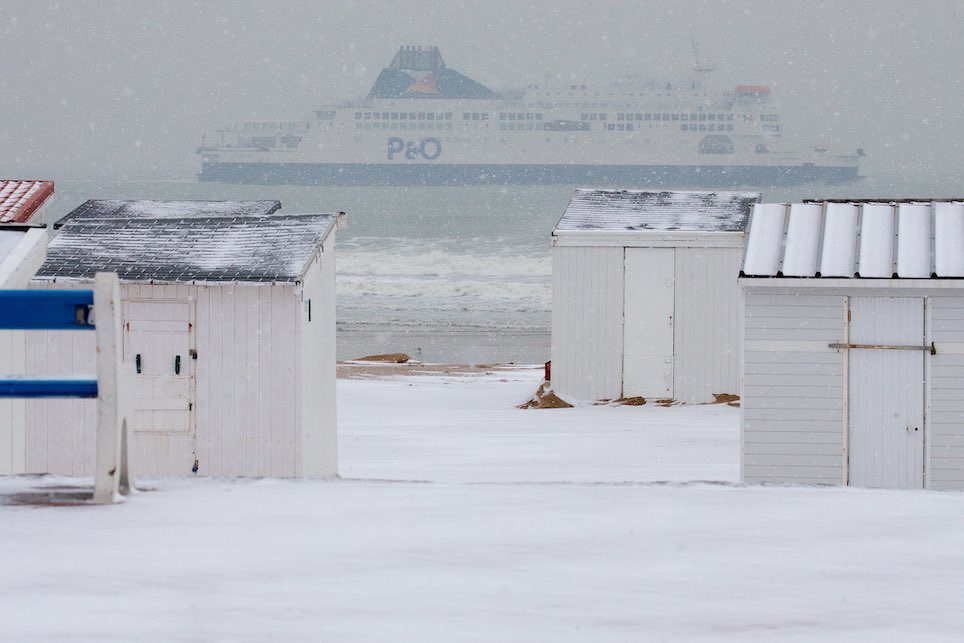
Example 3 : A photograph should be aesthetically pleasing and can also provide information. Snow on Calais beach is already unusual, but waiting for a ferry to appear in the background adds a second piece of information to the image, particularly about the location.
The famous war photographer Robert Capa (1913–1954) said: “If your photographs aren't good enough, you're not close enough.” This remains true today: get closer to your subject to obtain a good photograph. That does not mean you should avoid long focal lengths, quite the opposite: getting closer and using a 135mm or 200mm lens allows you to obtain a close-up with a more easily isolated background.
However, note that with an entry-level telephoto zoom, sharpness at the maximum focal length (for example 300mm) is generally rather poor. In this particular case, it is sensible to use a slightly shorter focal length and therefore move closer to the subject.
Of course, Robert Capa's philosophy does not apply to sports or wildlife photography: in these two disciplines, shooting from a certain distance and using a very long focal length (300, 400 or 500mm) are essential because it is impossible to get very close to the subject.
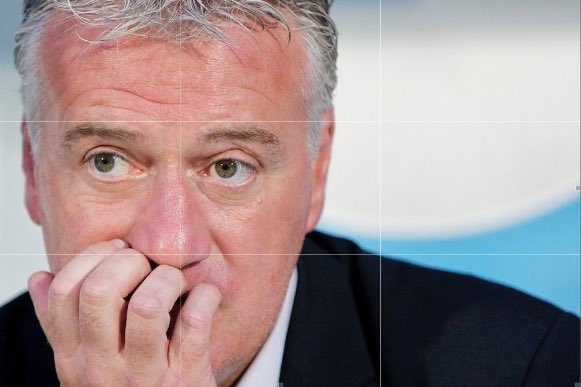
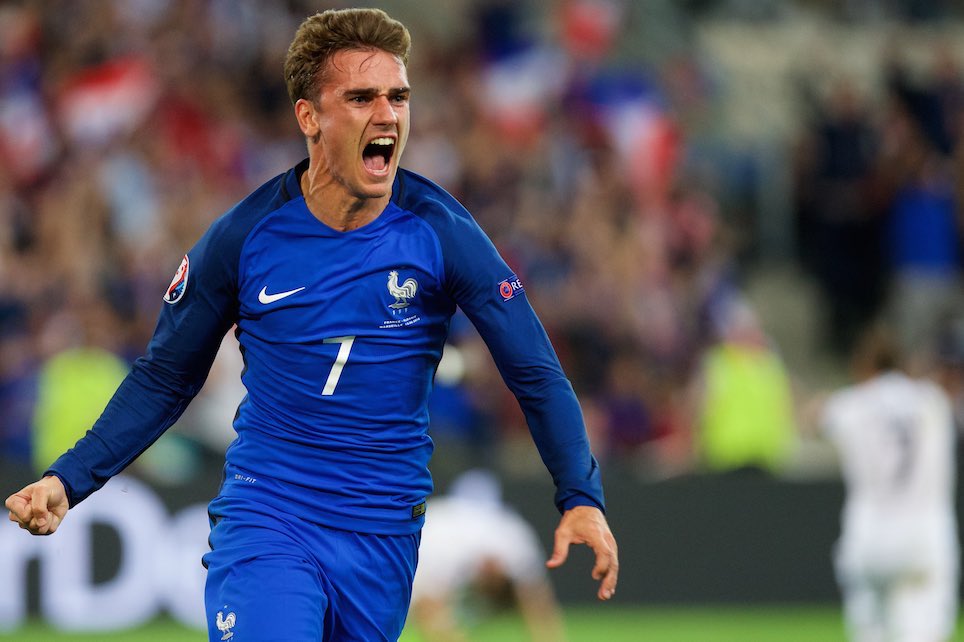
By default, the autofocus point on a DSLR is often positioned in the centre. However, your subject does not necessarily need to be in the centre of the image: this is one of the principles behind the rule of thirds. When shooting, imagine that your image is divided into three vertical sections and three horizontal sections. The four intersection points are strong points in the composition. Do not hesitate to move your AF point to avoid always centring your subject. Take care with your composition: is the arrangement of the elements aesthetically pleasing? You should always ask yourself this question before pressing the shutter button.
If you take a family photograph in the street or a park, avoid cars or rubbish bins in the background: they look bad and distract the eye. Look for greenery or an attractive background and isolate your subject by using a long focal length (85, 135, 200mm), a shallow depth of field (f/2.8 or f/4 aperture), and by staying fairly close to the subject. A photograph of your children with a blurred, leafy background (bokeh) is much more attractive than a shot with a large depth of field and rubbish in the background! The same applies to sports photography: position yourself so that spectators appear in the background; this is more attractive than a fire extinguisher or a wall.
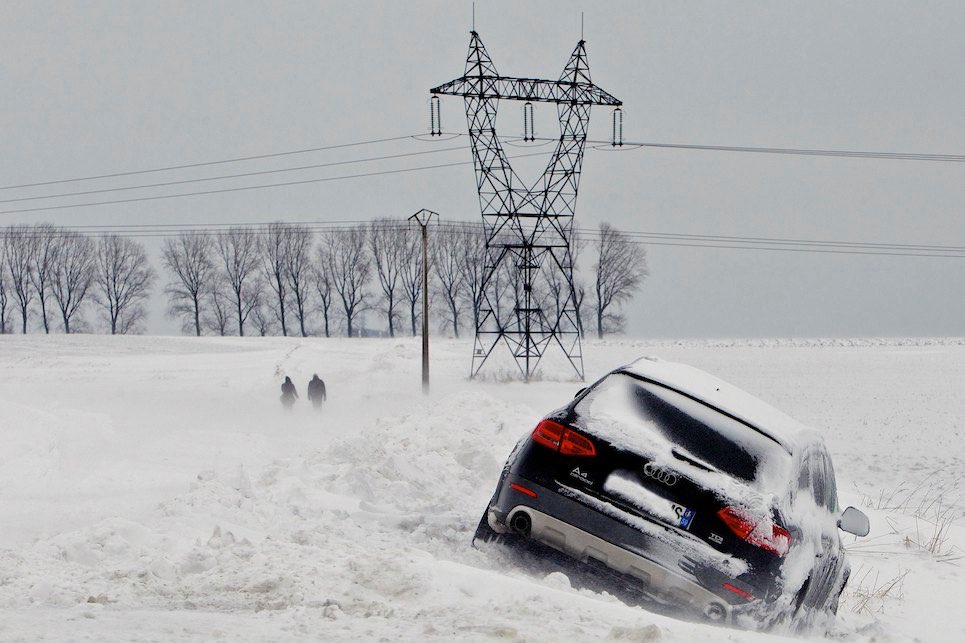
Taking a photograph of your family or friends on the beach? Make sure the sea is not tilted. The same applies to landscape photography and most photographic disciplines, except when the tilt is intentional and helps make the image more dynamic.
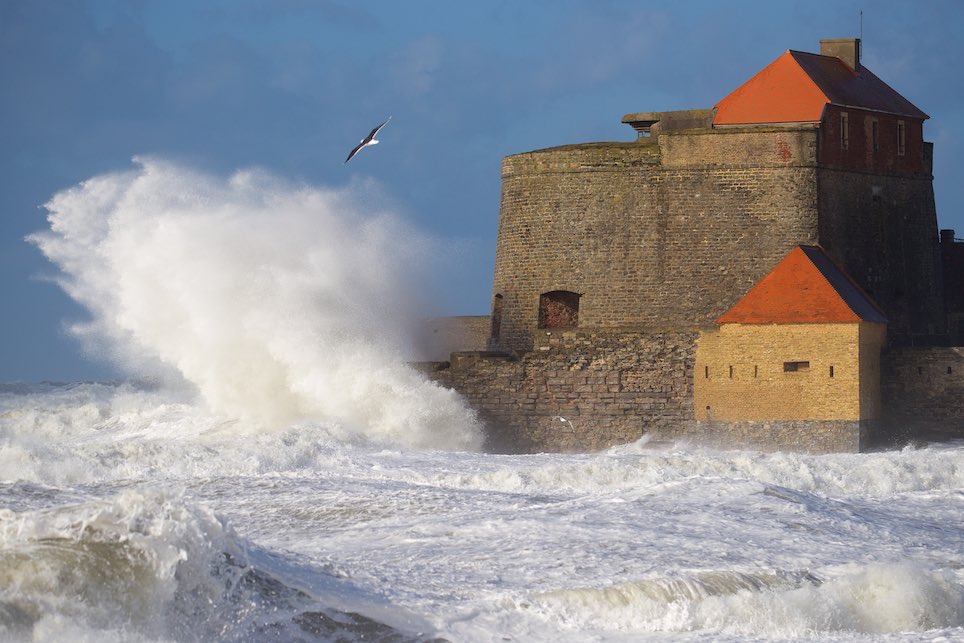
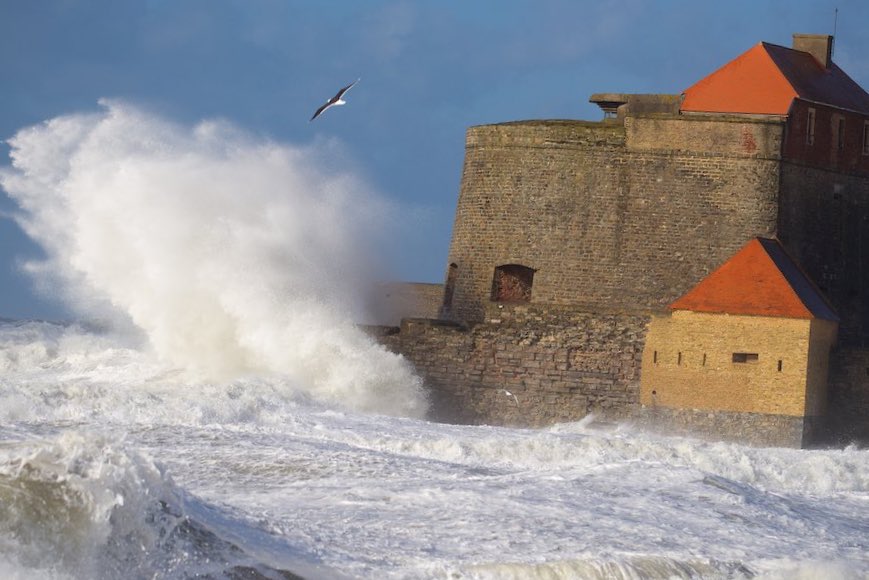
Do not hesitate to crouch down or lie on the ground when photographing an animal or a child. This also applies to sports photography: in general, shooting while standing cuts off the heads of players in the background.
Camera shake is caused by the photographer's movements. When neither a tripod nor image stabilization is used, the shutter speed should always be at least the reciprocal of the focal length being used. Example: with a 50mm lens, the minimum handheld shutter speed should be 1/50 s.
Some lenses offer image stabilization: IS from Canon, VR from Nikon, OS from Sigma, and VC from Tamron.
These technologies use sensors inside the lens to detect and measure the mechanical vibrations caused by the photographer. The system then compensates for these vibrations by moving a group of lens elements to stabilize the image.
Depending on the photographer and the conditions, image stabilization can provide a gain of 3 to 4 stops: for example, with a 200mm lens, you would theoretically need to shoot at 1/200 s to avoid camera shake; with stabilization active, you can easily drop to 1/50 s while remaining sharp. Of course, this only applies when photographing a static subject: stabilization is mainly useful when the photographer has to work at slow shutter speeds. In sports photography, it does not freeze subject movement: shutter speed is what does that.

The shutter speed, here 1/10 s, is too slow for a 35mm focal length: the photograph is blurred.

The shutter speed of 1/100 s is this time fast enough to avoid camera shake.
Motion blur, on the other hand, is caused by the speed at which the subject moves. To freeze a football player or a running animal in a green field, a fast shutter speed is essential: at least 1/500 s, ideally 1/800 s to 1/4000 s depending on how fast the subject is moving.
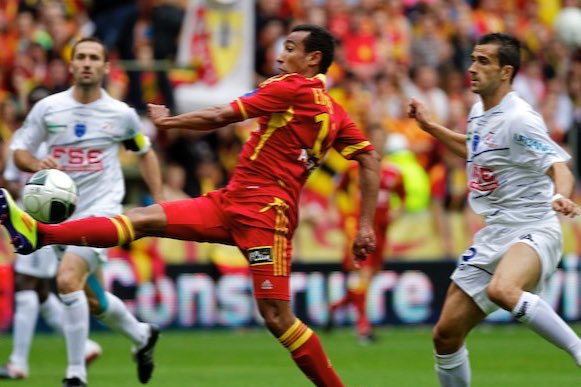
A shutter speed that is too slow, for example 1/320 s, causes motion blur.
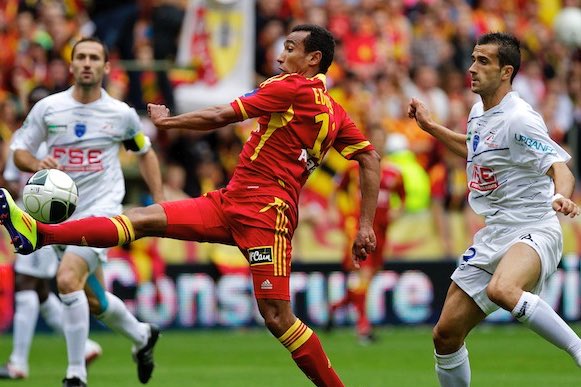
A fast shutter speed, here 1/3200 s, freezes the footballer's movement.
P.S.: The motion blur in the photograph above on the left was simulated using Photoshop.
White balance (WB, White Balance) allows you to calibrate a digital camera sensor so that white is rendered as true white and colours are therefore balanced.
An incorrect white balance setting produces an image that is too warm (orange/red) or too cool (blue). In general, automatic white balance works quite well, but some artificial lighting can create a colour cast. Under very warm light, the image can become orange; in the shade, it can instead shift towards blue.
A digital camera allows you to adjust white balance: AWB (automatic white balance), daylight, shade, cloudy, tungsten, fluorescent, flash, or custom (see the white balance section of the sports photography tutorial).
If you shoot RAW, you can adjust white balance during post-processing, but to save time, consider setting the correct white balance when you take the photograph.
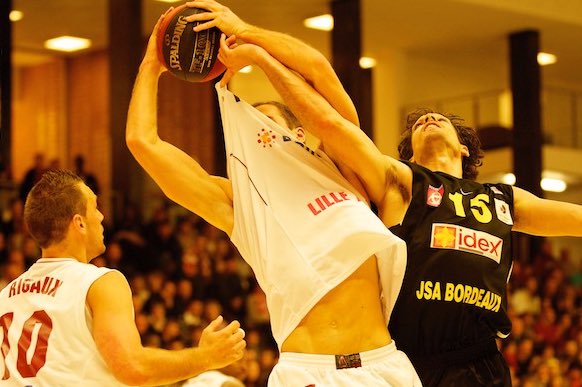
Incorrect white balance.
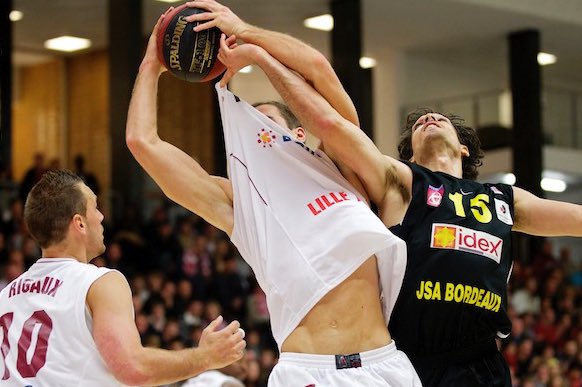
Correct white balance.
Make sure the battery is sufficiently charged before leaving. To avoid using a memory card that already contains 200 or 300 photographs, which we often forget to erase before an assignment, get into the habit of formatting the card in the camera as soon as the images are safely on the computer.
Also return your camera to a configuration you are comfortable with: an appropriate ISO sensitivity, automatic white balance (AWB), evaluative metering and, if necessary, stabilization enabled. Also check that you are using your usual image format (RAW and/or JPEG).
One final tip: share your images on forums such as EOS Numérique for Canon users or Nikon Passion for Nikon users: constructive criticism is one of the best ways to improve.
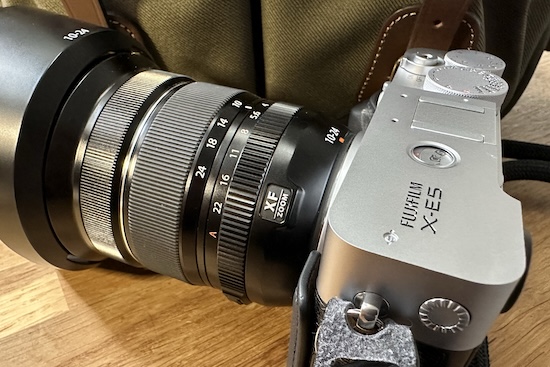
How to choose a lens?
The lens is the component that has the greatest impact on image sharpness [...]
How to choose a camera?
Today, the choice is mainly between mirrorless cameras and the used market [...]
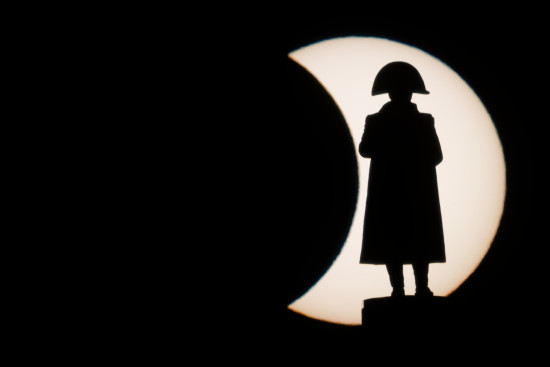
How I photographed Napoleon during the solar eclipse?
An image like this does not happen by chance [...]

How I set up my camera
There is obviously no universal setting that works for every situation. The choices [...]
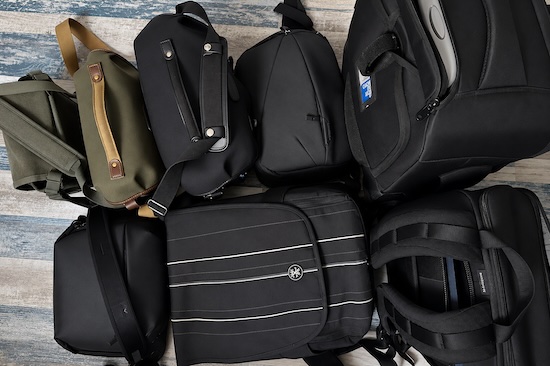
How to choose a camera bag
Finding the perfect camera bag to carry and protect your valuable equipment is [...]

How to choose a computer?
Clearly, in 2026, any recent laptop or desktop computer, whether PC or Mac, can [...]
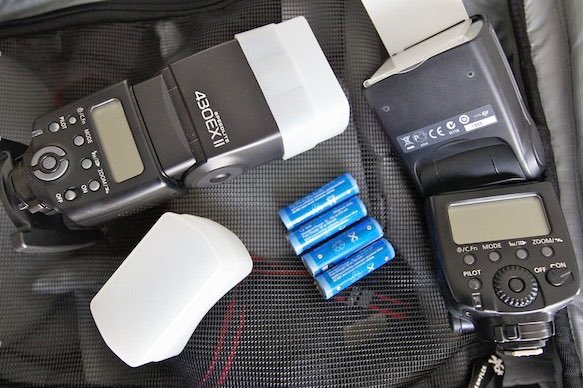
How to choose a speedlight?
A speedlight is far from essential for taking good photographs. Recent cameras [...]
Photographing amateur football
For those getting started in sports photography, covering an amateur football match is a good choice [...]
Recovering deleted photos
Accidentally deleting the contents of a memory card by formatting it can happen to anyone: don't panic [...]

My workflow with DxO and Photo Mechanic
Why I spend less than a minute (per photo) on post-processing my assignments [...]
Photographing sports
Sports photography is quite a challenging field to master. It requires [...]
Getting press accreditation
Press accreditation is the essential pass that allows you to photograph a concert, event [...]

Photographing a concert
Photographing a concert or show is relatively complex, but very rewarding [...]
Photographing a sunset
Photographing a sunset is a real treat for both the eyes and the photographer, impossible to [...]

10 tips for better photos
A few tips, in no particular order, to avoid common mistakes. The very first tip [...]
How to create a panning effect?
Essential for photographing motorsports such as rallies, F1 or [...]
Photography in the rain
As I live in Pas-de-Calais, I should have some expertise when it comes to answering this [...]
Photography basics
When taking a photograph, the photographer can adjust four parameters to compose and control [...]