How to Photograph in the Rain?
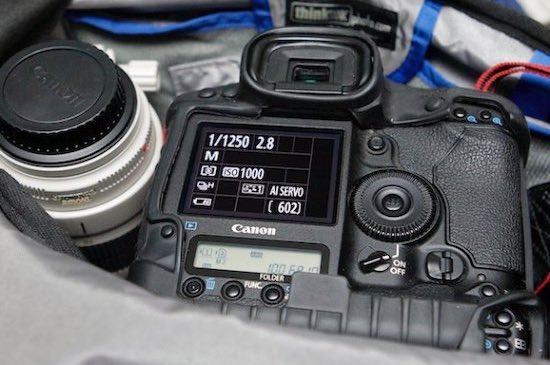
Being from Pas-de-Calais, I should have some expertise when it comes to answering this question. Some camera bodies are weather-sealed, meaning they are more or less resistant to moisture thanks to the use of numerous protective seals around buttons and joints.
This weather sealing helps these camera bodies and lenses better withstand oxidation, mould, water runoff and dust, but it absolutely does not mean that the equipment is waterproof.
Of course, current professional camera bodies such as the Canon EOS R1 and EOS R3 or the Nikon Z9 benefit from extensive protection against dust and water splashes. The Canon EOS R1 notably has sealing around the various vulnerable points of the body, while the Nikon Z9 claims dust and water-splash resistance equivalent to that of the D6. This makes it possible to work in light rain with greater peace of mind, but none of these camera bodies is waterproof: as soon as the rain becomes heavier, it is wiser to protect them. Treat them as if they were non-weather-sealed bodies. There are many ways to protect your equipment from rain, from using a simple garbage bag to a professional rain cover designed to shelter a camera body and a fast 300mm or 400mm lens.
In all cases, the lens hood provides an effective first line of defence against rain: it prevents water droplets from reaching the front element.
The budget option: a garbage bag
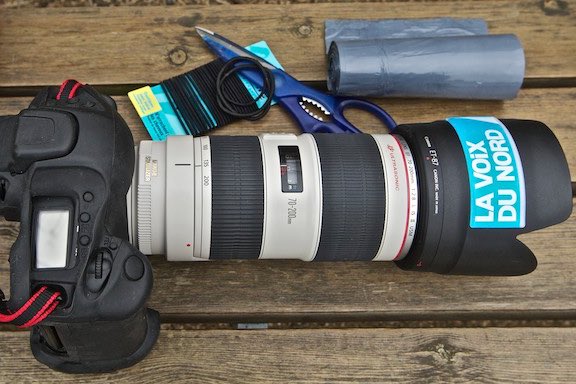
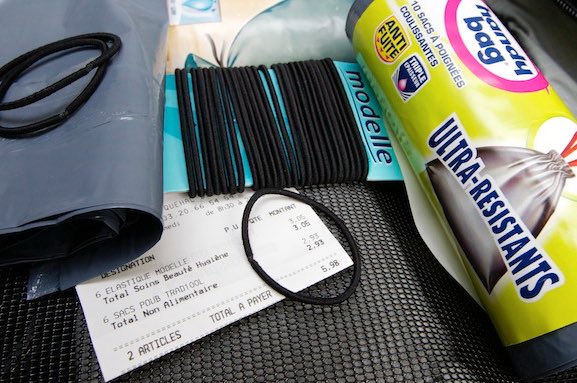
Not very elegant, but highly effective! This solution has the huge advantage of being very inexpensive: about €6 for ten 100-litre garbage bags and a pack of hair elastics, which are easy to find in the beauty section of a supermarket.
Rubber elastic bands, which can be found in stationery shops, can also do the job. The elastics allow you to secure the bag effectively around the lens hood and lens. Preferably choose a strong, leak-proof, triple-layer garbage bag.
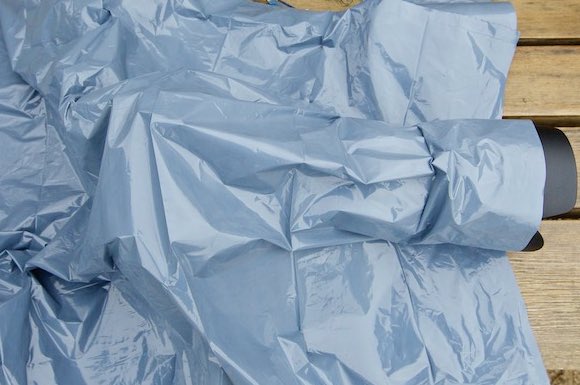
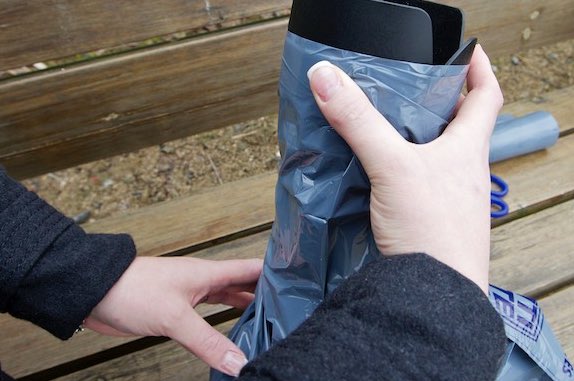
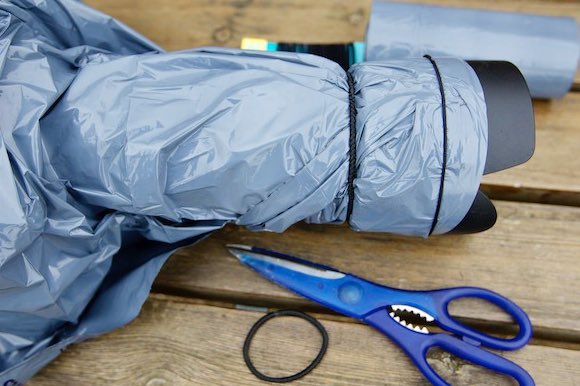
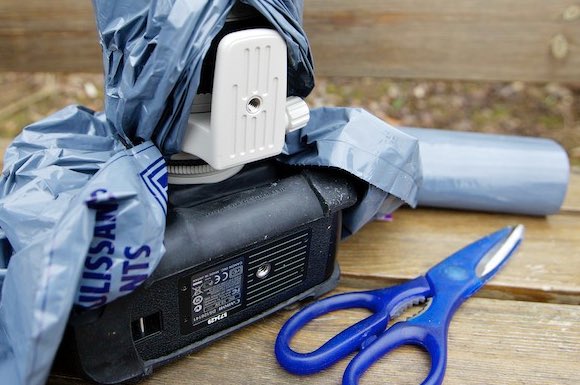
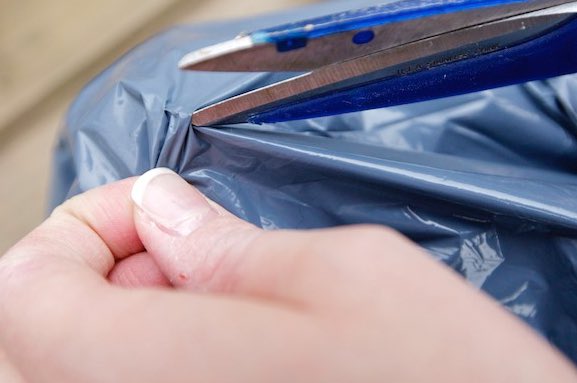
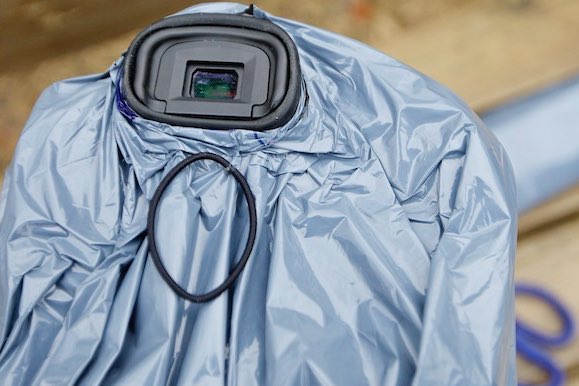
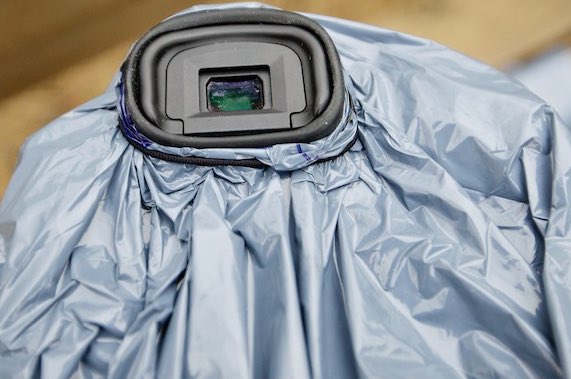
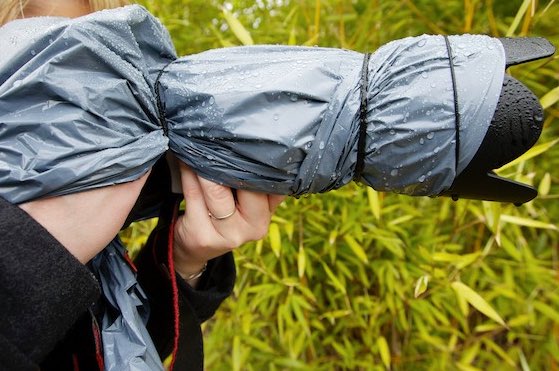
Remember to leave an opening around the lower part of the lens so that you can still access the zoom and focus rings. Once the bag is in place, simply make a small cut with scissors in the centre of the viewfinder opening so that the viewfinder can protrude. If necessary, use an elastic band to hold the bag securely around the viewfinder.
Here is the result: the garbage bag provides very effective protection for the camera body and lens, whether the rain is heavy or light. There are nevertheless a few drawbacks: the buttons are covered, so you need to know your equipment's controls well. The control screens are also inaccessible, making it impossible to immediately check whether a shot is correctly exposed. In addition, fitting such a bag to the equipment takes a relatively long time (allow a good five minutes) and remains a makeshift solution. If you regularly take photographs in the rain, the two solutions below are better suited.
To finish with this section, remember to carry a small towel in your camera bag so that you can occasionally wipe down the garbage bag and viewfinder. This small cotton towel is approximately 30×30cm or 30×50cm. It is easy to find in shops such as Ikea or Okay (bath linen section), as well as in most supermarkets.
The mid-range option: Optech RainSleeve cover
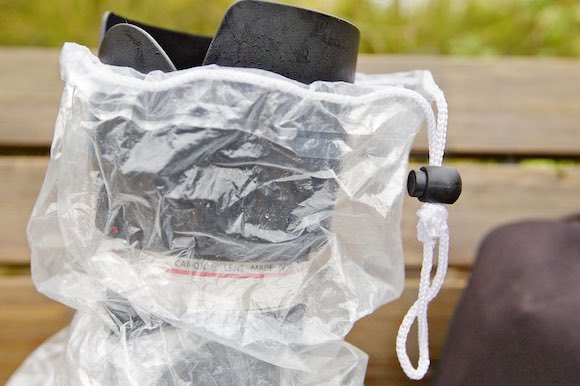
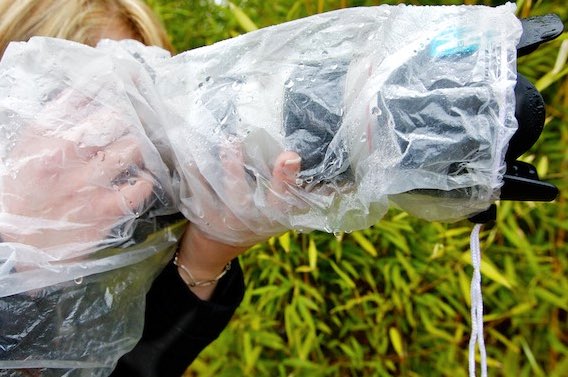
A much-improved version of the simple garbage bag, the Optech RainSleeve cover offers the best balance between effectiveness and cost: about €10 for two covers.
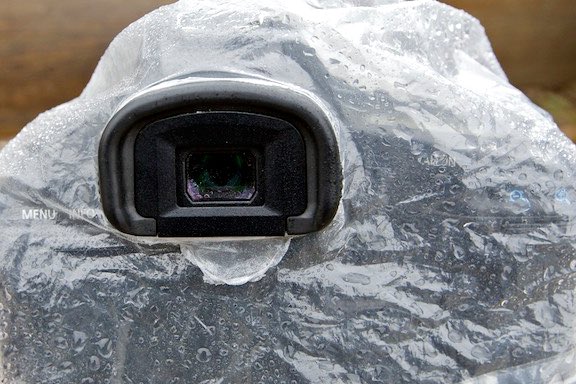
Unlike a garbage bag, this cover has the advantage of being transparent: you can therefore check your images on the LCD screen, and you do not need to know the controls by heart. It is also very compact and quick to put on: less than a minute.
The RainSleeve cover can be used with large telephoto lenses up to 45cm long: a basic, slow 70-300, a 70-200 2.8, or a 300 or 400 2.8.
This cover also provides very good protection when working in sand or mud. There is also a version that allows you to use an on-camera flash.
The high-end option
This is the premium solution offered by the American brand Think Tank to professional photographers: sports photographers, photojournalists and wildlife photographers.
This is also the solution I use when I photograph storms and/or high tides around Wimereux.
Think Tank covers are made from waterproof fabric and are perfectly suited to professional equipment.
There are three models in particular for DSLRs:
a custom-fit cover for a 70-200, called the Hydrophobia 70-200 (about €150),
a cover for fast telephoto lenses called the Hydrophobia 300-600 (about €150), and one for a 24-70, the Hydrophobia 24-70 (about €120).
These models are available from the French Photospecialist website or the German AC Foto website.
You also need to purchase a viewfinder suitable for your camera body, at around €35.
The 24-70 and 70-200 versions feature a system for carrying your equipment over your shoulder. To achieve this, the American manufacturer has fitted the inside of the cover with a strong strap that attaches to the edge of your lens, close to the camera mount.
These two versions also feature a cover that fits over the lens hood to prevent water from splashing onto the front element when you are not using your equipment.
All three versions have a storage pouch for the viewfinder, which is convenient because it can hold either the Think Tank viewfinder or the original viewfinder. A transparent window on the front of the cover lets you see the LCD screens and control buttons.
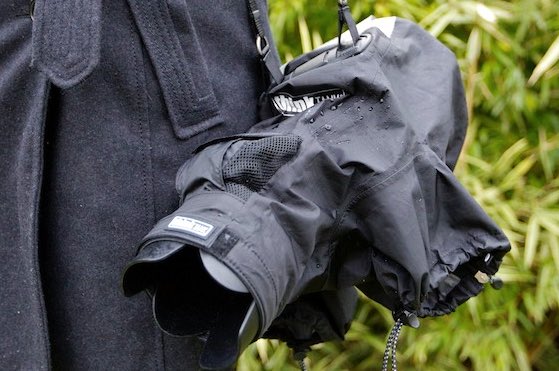
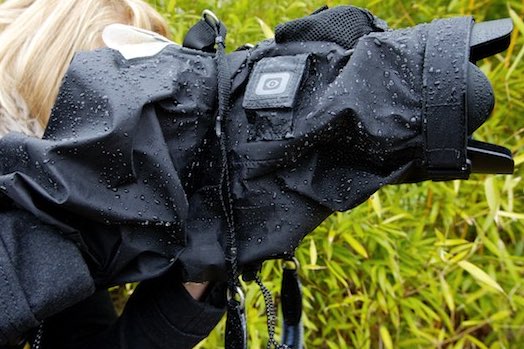
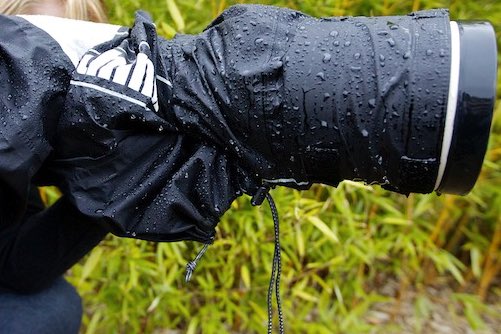
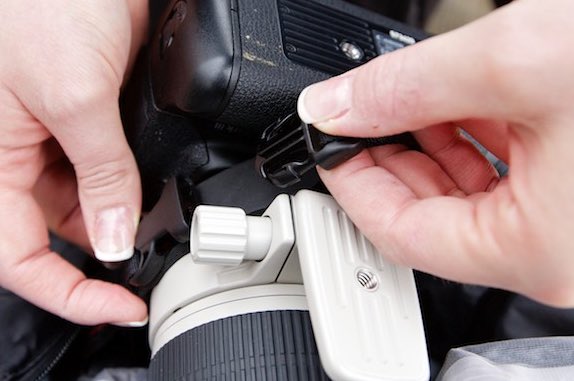
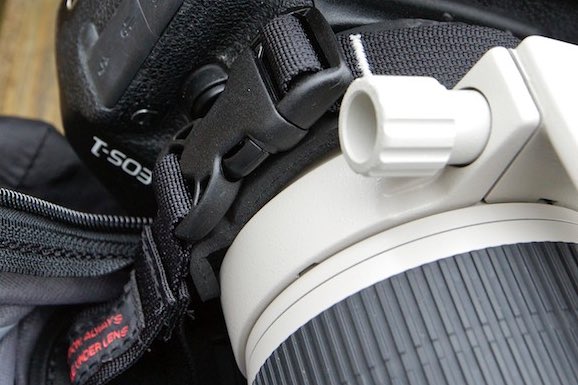
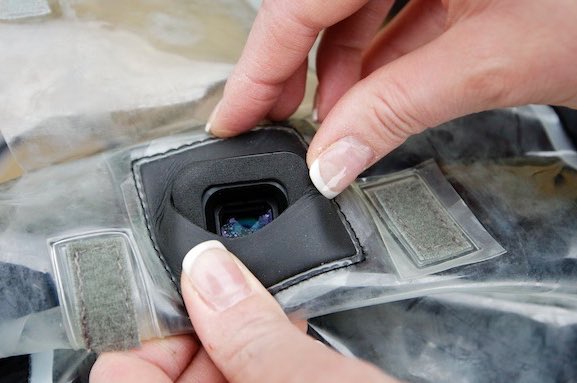
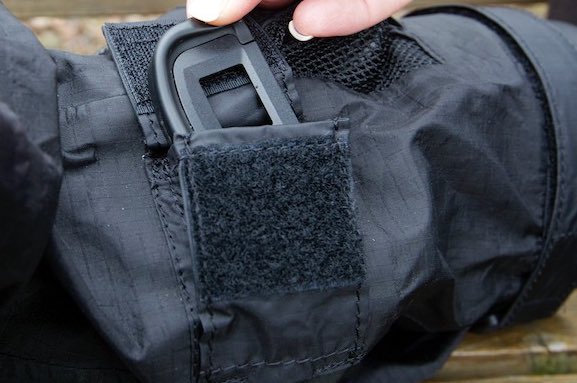
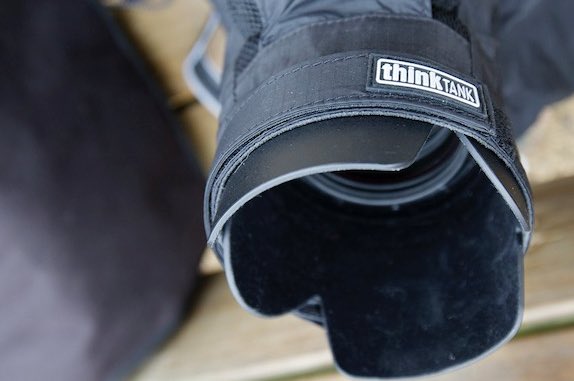
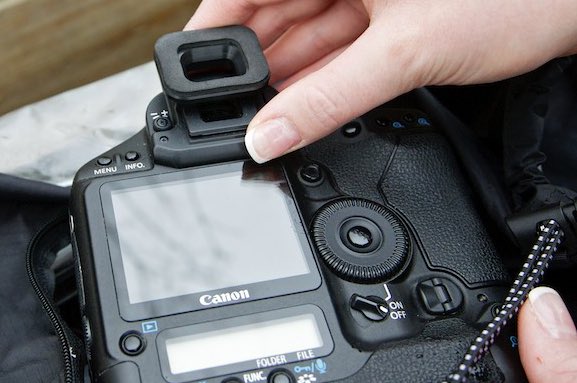
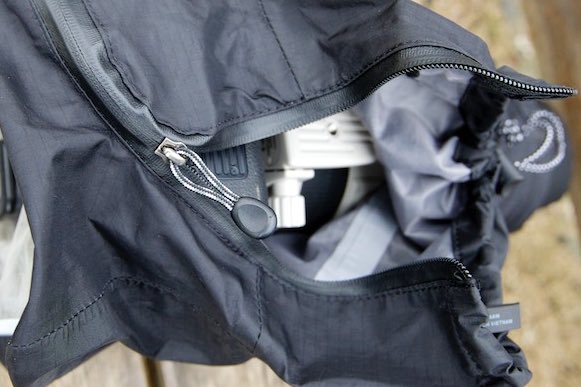
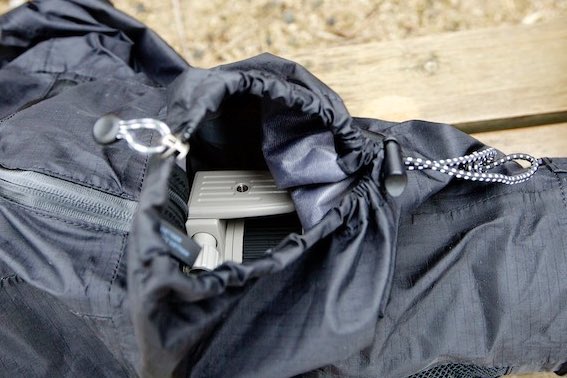
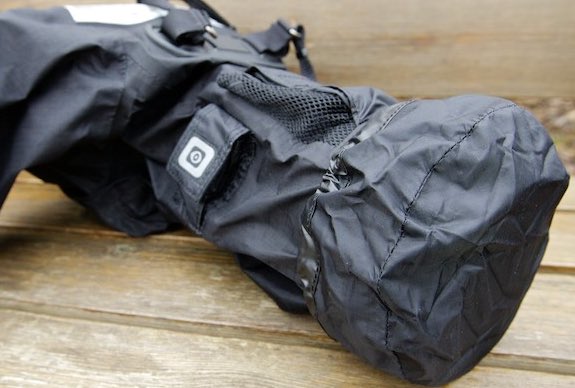
This is a highly effective rain-protection solution that is fairly quick to put on (about two minutes), but it is expensive and therefore mainly intended for professional photographers.
There is also an alternative to Think Tank: Aquatech. In particular, the waterproof Aquatech SS-600 cover for long telephoto lenses (about €170), the Aquatech SS-200 cover for 70-200 2.8 lenses and smaller telephoto lenses such as a 24-70 and 24-105 (about €150), or the Aquatech Basic model cover for smaller, slower lenses such as a 70-300 or 55-200 f/4.5-5.6 (about €85).
Other tips
It is also useful to always carry a few cotton swabs to clean the eyecup, along with the small towels mentioned above, and possibly an umbrella.
To cover a football or rugby match in a downpour, in addition to a Think Tank cover, you can tuck a large wind-resistant umbrella into your jacket; it will protect you well and also partially protect your equipment.
When your assignment is over, let your equipment and covers dry thoroughly for several hours.
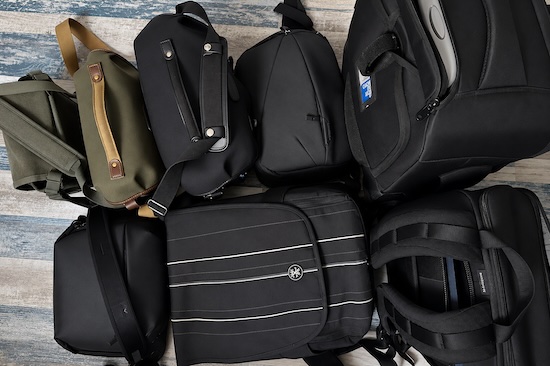
During the drying process, do not hesitate to remove the rubber covers from your camera body, particularly the covers that provide access to the connectors. It is of course advisable to use a camera bag with effective rain protection.
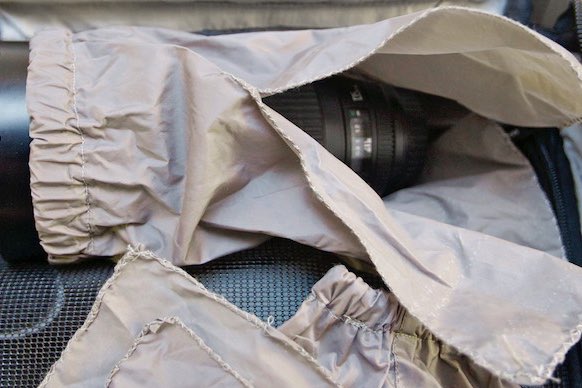
If you have some basic sewing skills (or know someone who does), you can also make your own waterproof cover from an old K-way (or an inexpensive new one). Simply use its sleeves, which have elastic around the cuff: this is perfect for attaching easily to the lens hood.
Finally, you can also keep one or two silica-gel sachets permanently in your camera bag. They contain silica granules that absorb moisture. You can in fact find them in most packaging boxes containing electronic equipment.